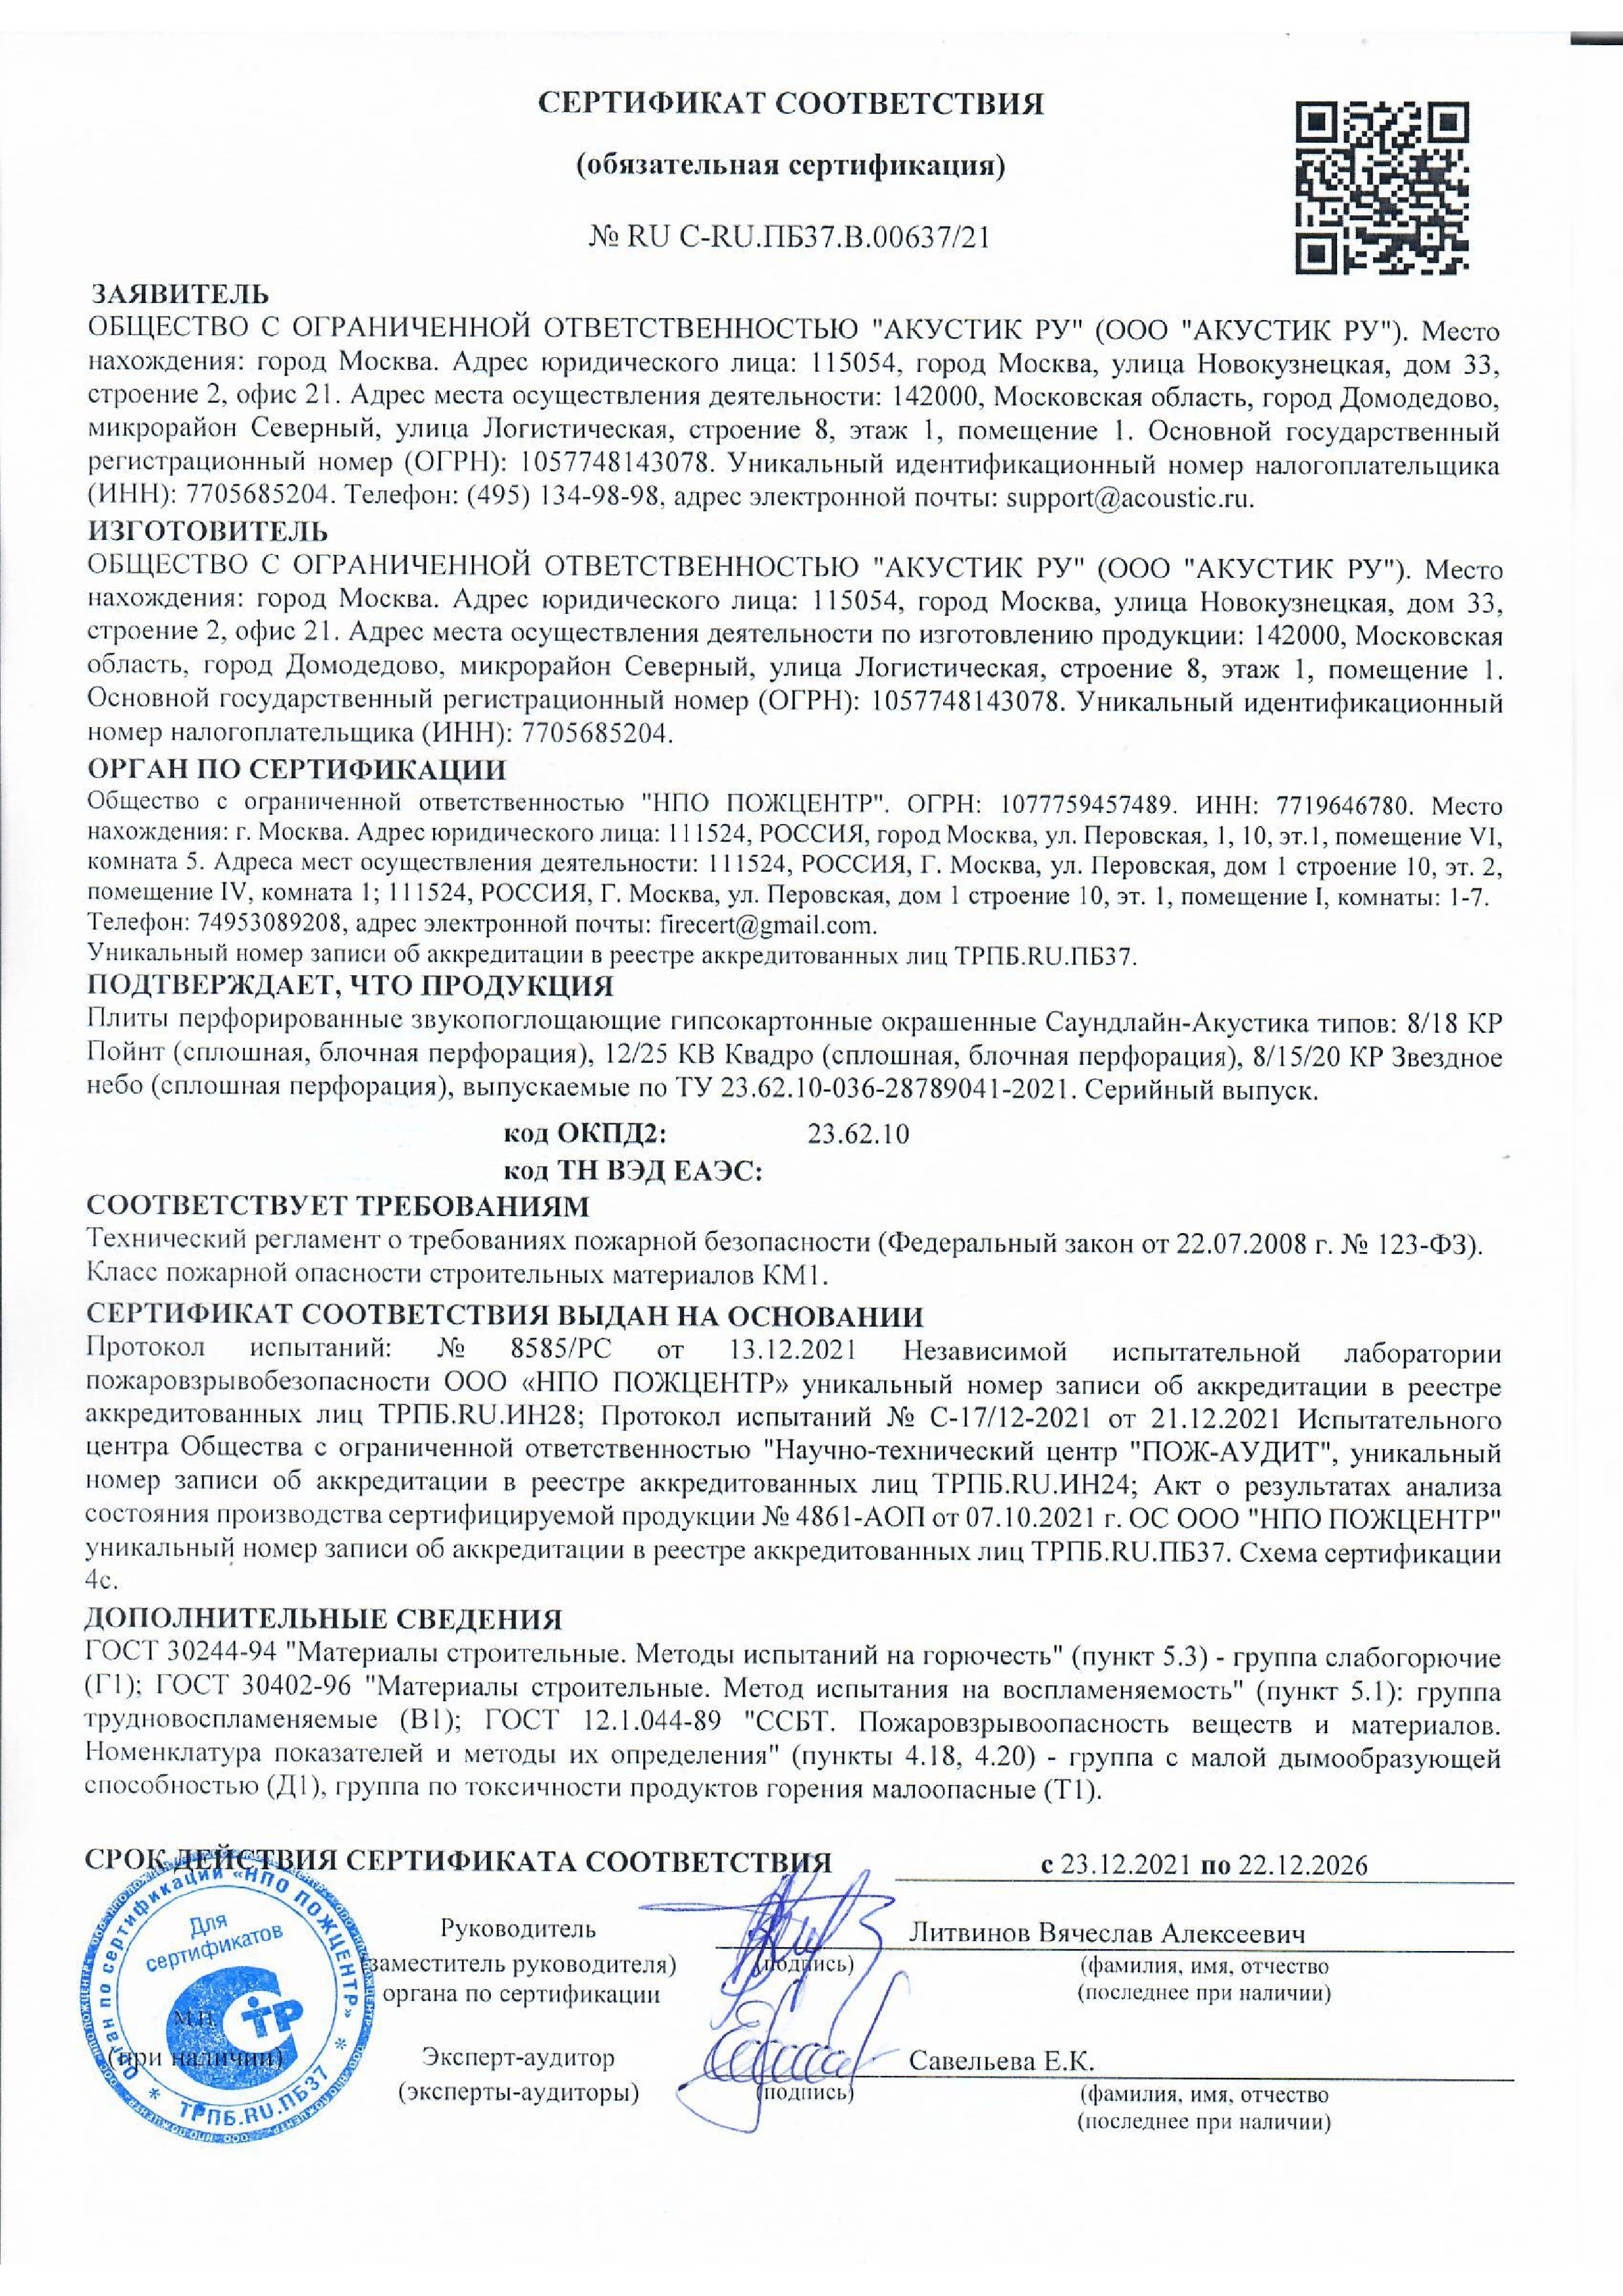
SOUNDLINE-ACUSTICS Quadro 4PK
SOUNDLINE-ACUSTICS Quadro 4PK
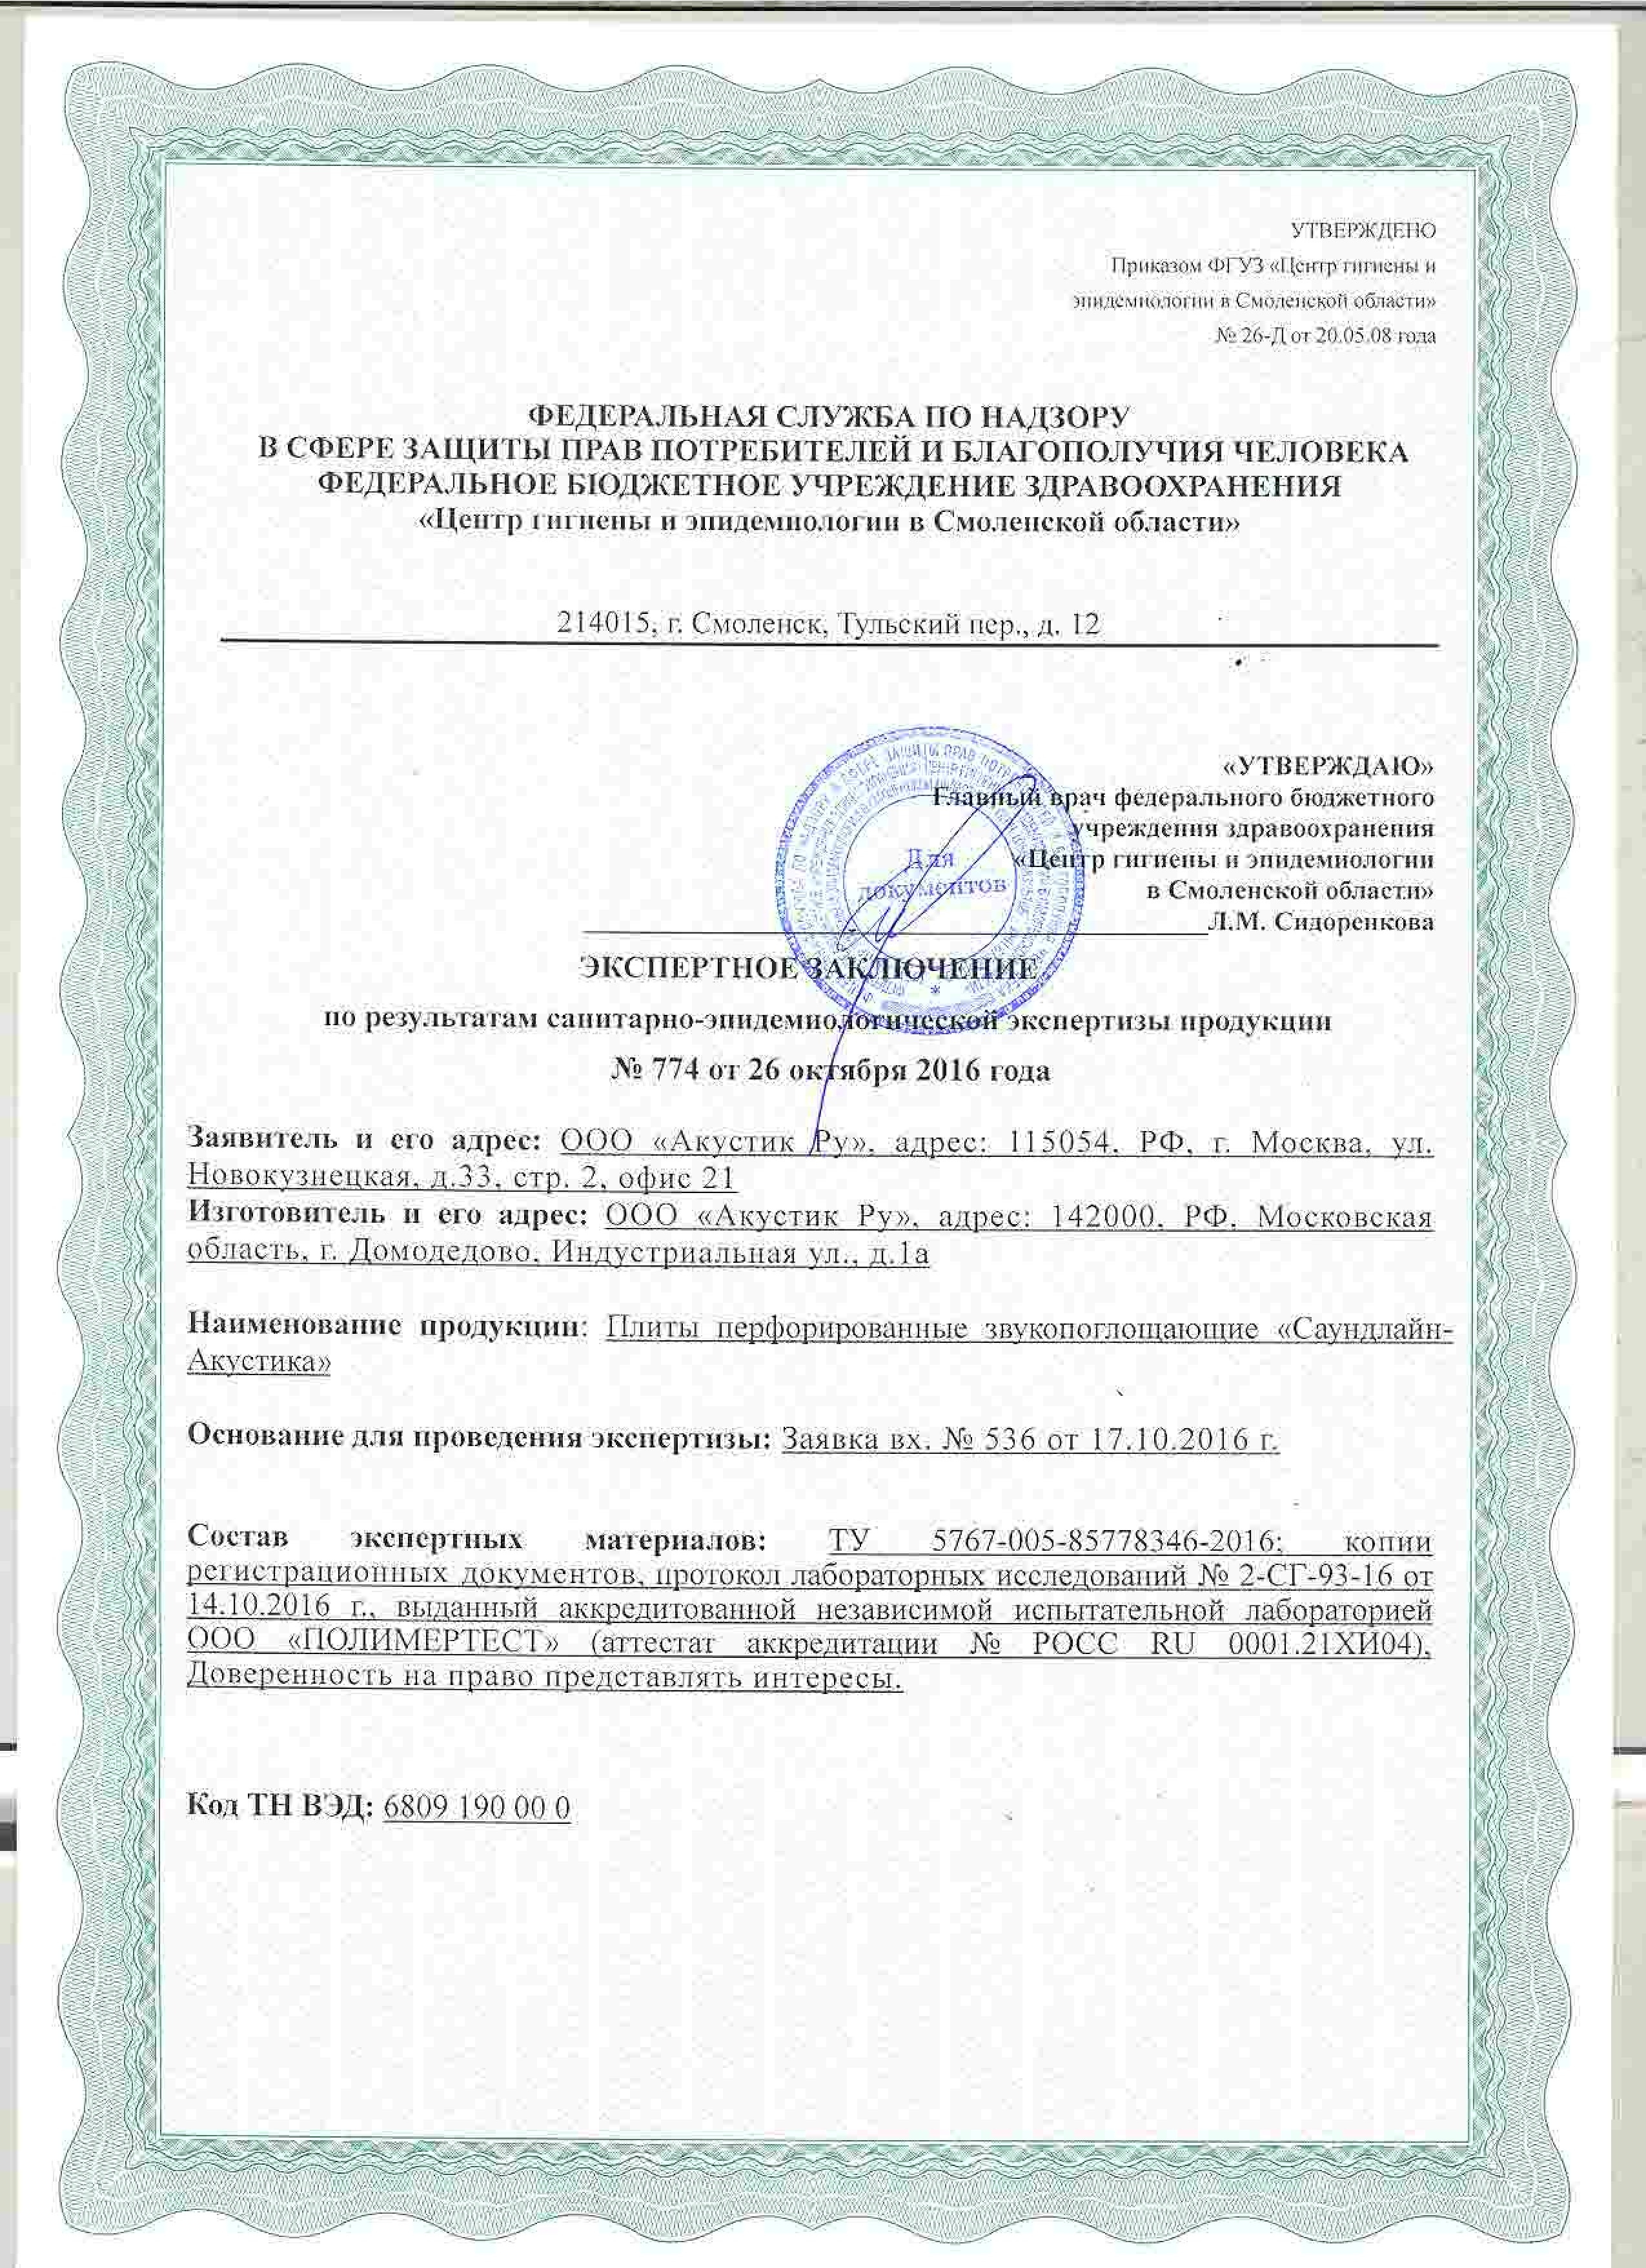
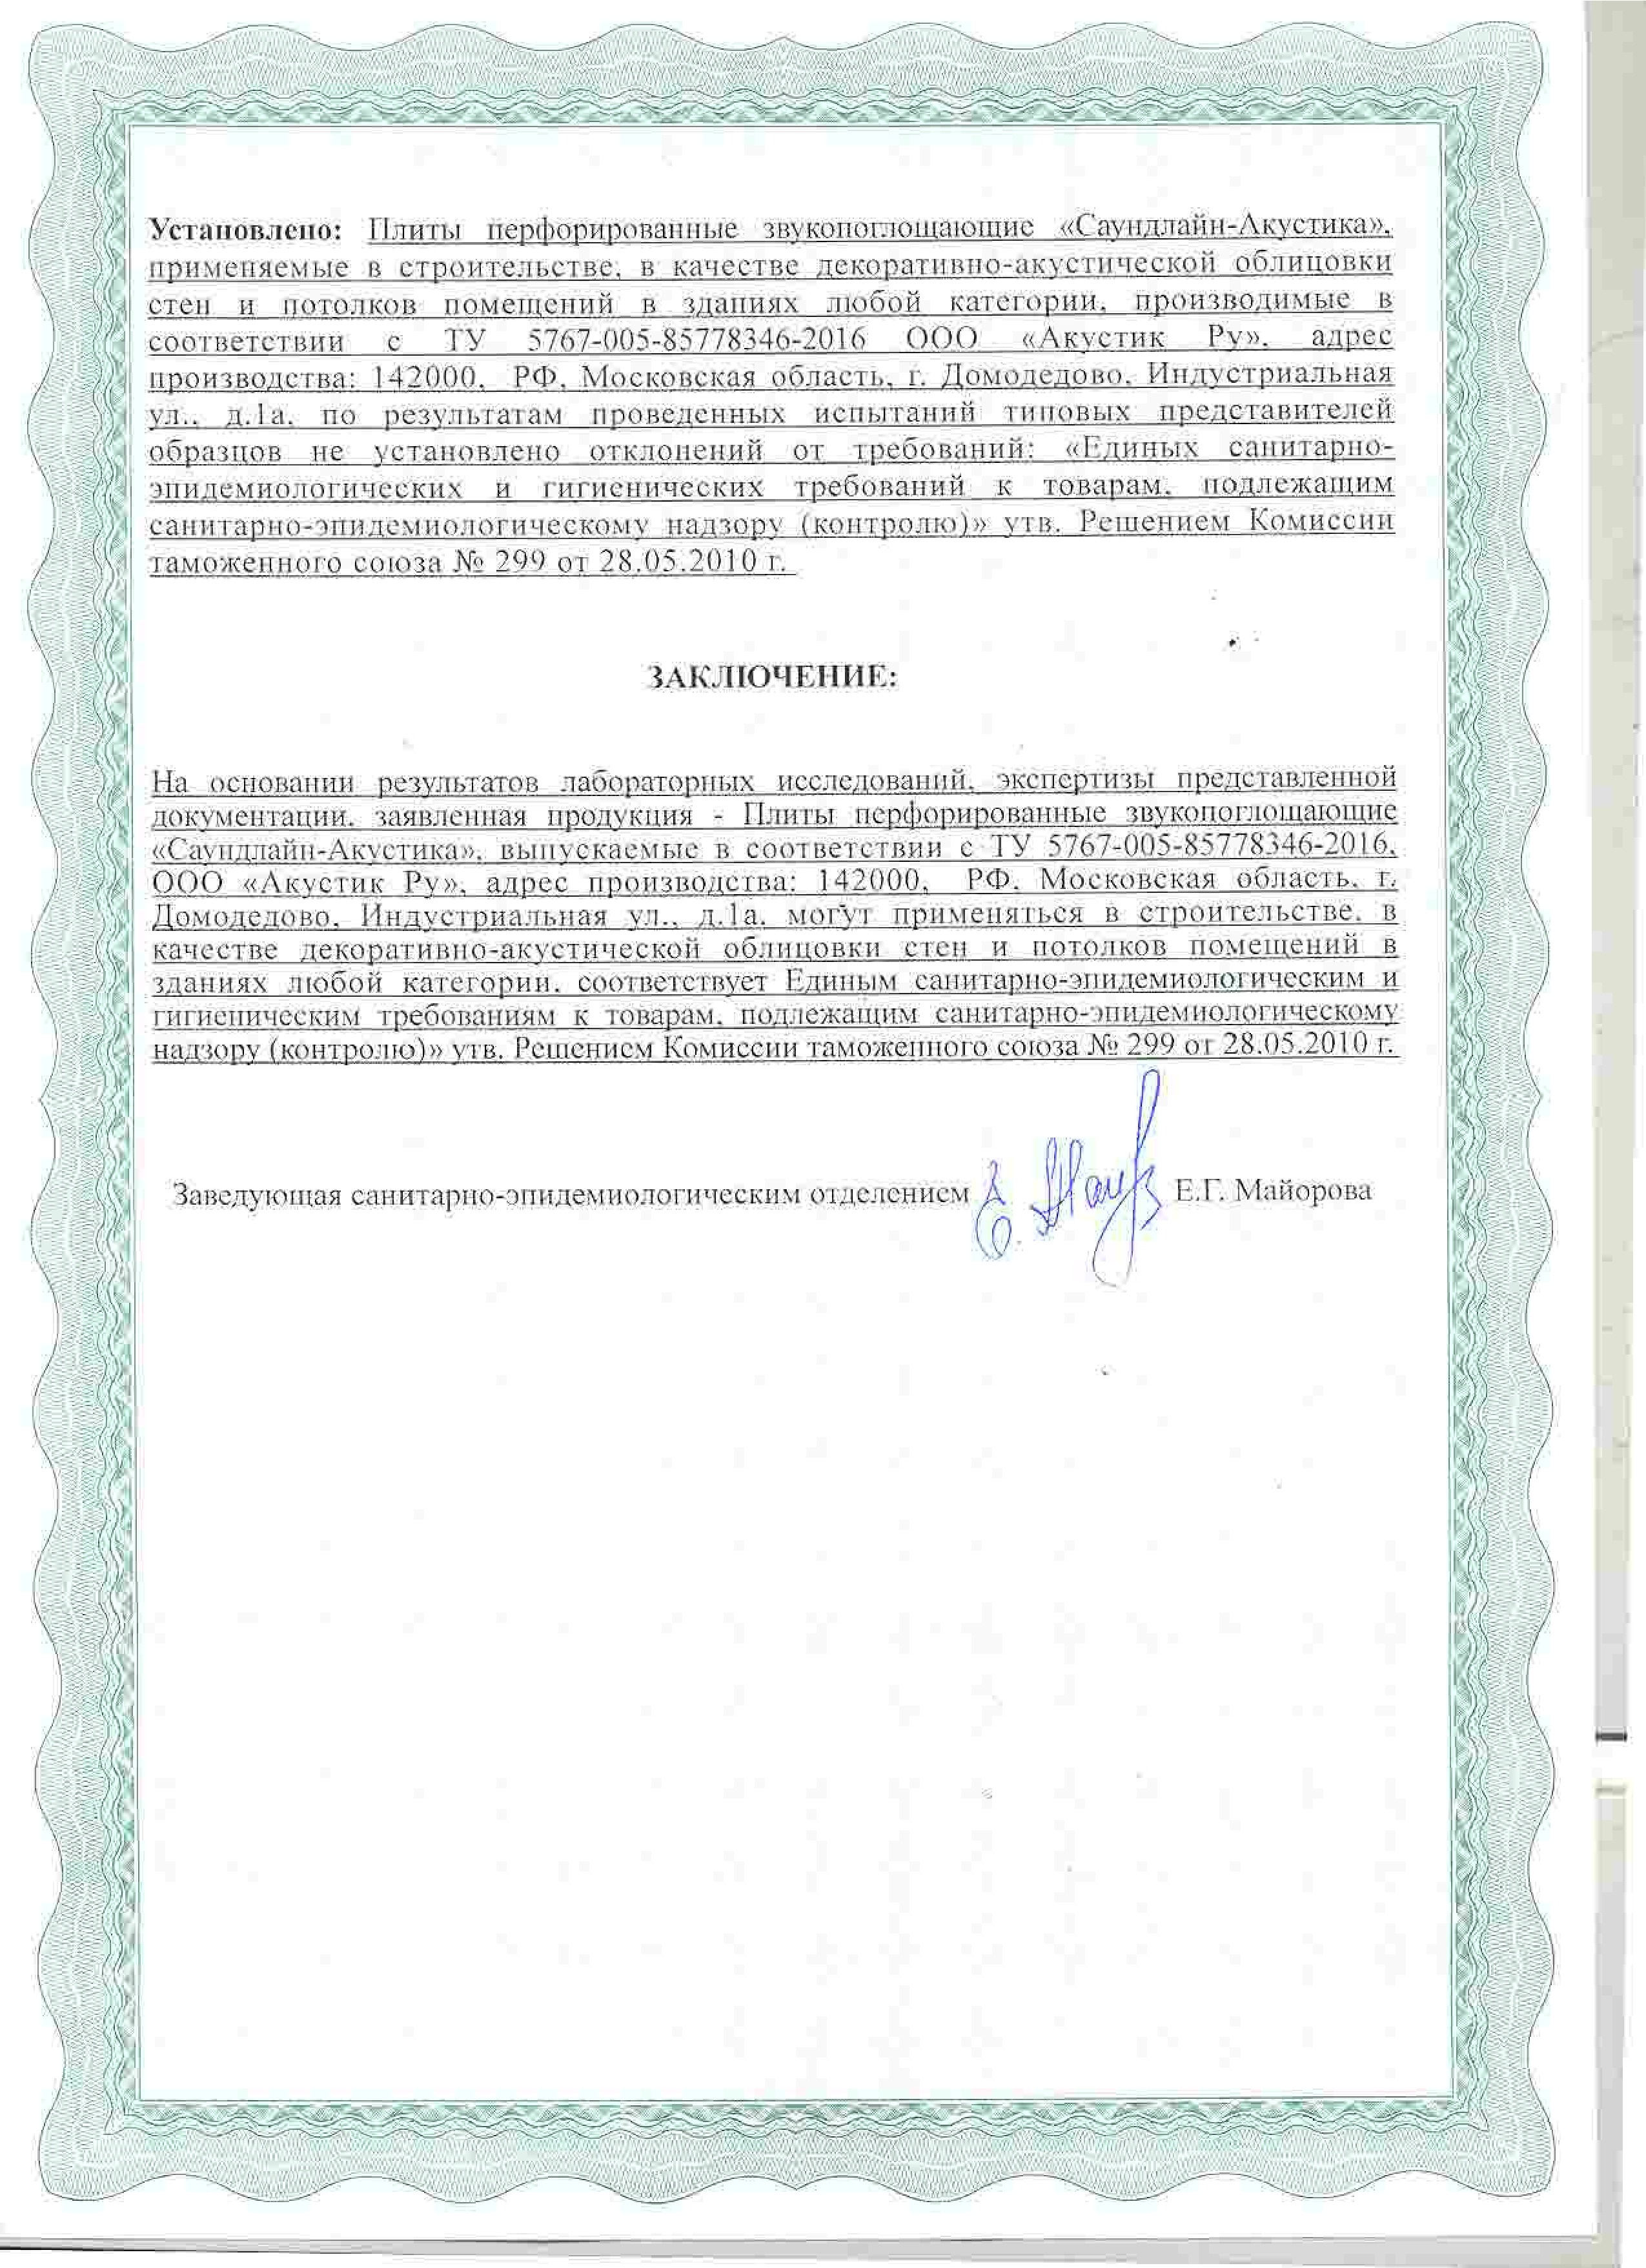
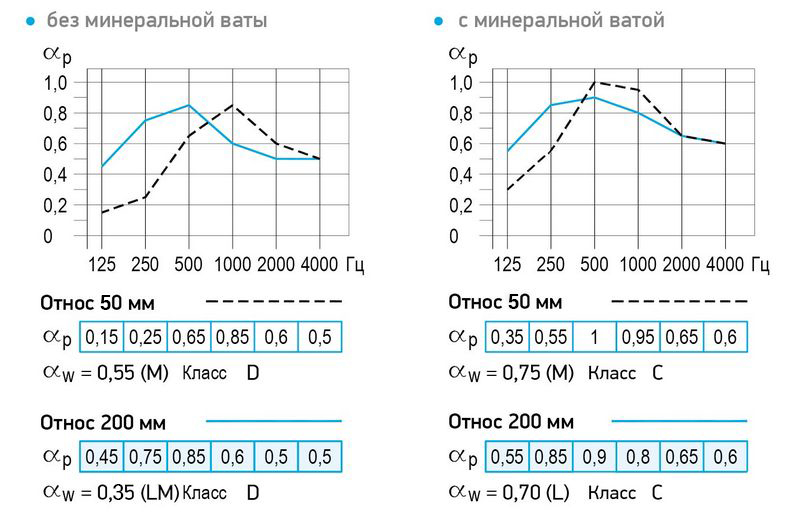
Perforated gypsum board sound-absorbing panels (PPGZ), perforated with “Quadro” pattern. Mounted on a frame, they are effective sound-absorbing structures with a resonant structure. The distance between the panels and the hard surface is essential for the low-frequency sound absorption. Sound-absorbing properties over a wider frequency range are enhanced by additional placement of Shumanet panels in the space between the hard surface and the cladding.
Scope of application
- office and administrative buildings
- hotels, halls, meeting rooms, restaurants
- schools and kindergartens, auditoriums, offices
- medical institutions and hospitals and other premises with special acoustic requirements.
Compound
Gypsum board, flame-retardant, sound-permeable black fiberglass, water-based adhesive.
Perforation coefficient: 23%.
Perforation "Quadro" is produced in both solid and block versions.
Distinctive features:
- Seamless design
- Increased sound absorption when installed with offset and filled with acoustic mineral wool
- Eco-friendly material, stabilizes indoor humidity
- Convenient installation, easy repair
- Painting in any color after installation
Description
Solid perforation
| Design of slabs | Perforation type | Perforation coefficient | Working* dimensions of slabs | Pitch of the supporting profile, mm | Edge type | |||
|---|---|---|---|---|---|---|---|---|
| width, mm | length, mm | 4 PCs | 2FC / 2PK*** | 4FC*** | ||||
| Quadro solid square perforation | 12/25 kW | 23,0 | 1200 | 2000** | 330 |
|
|
|
* The actual dimensions of the SOUNDLINE-Akustika 4PK board are 3.5 mm smaller.
** Longer boards, but no longer than 2800 mm, in multiples of the perforation pitch, may be produced by agreement between the customer and the manufacturer.
*** Panels with this type of edge are made to order.
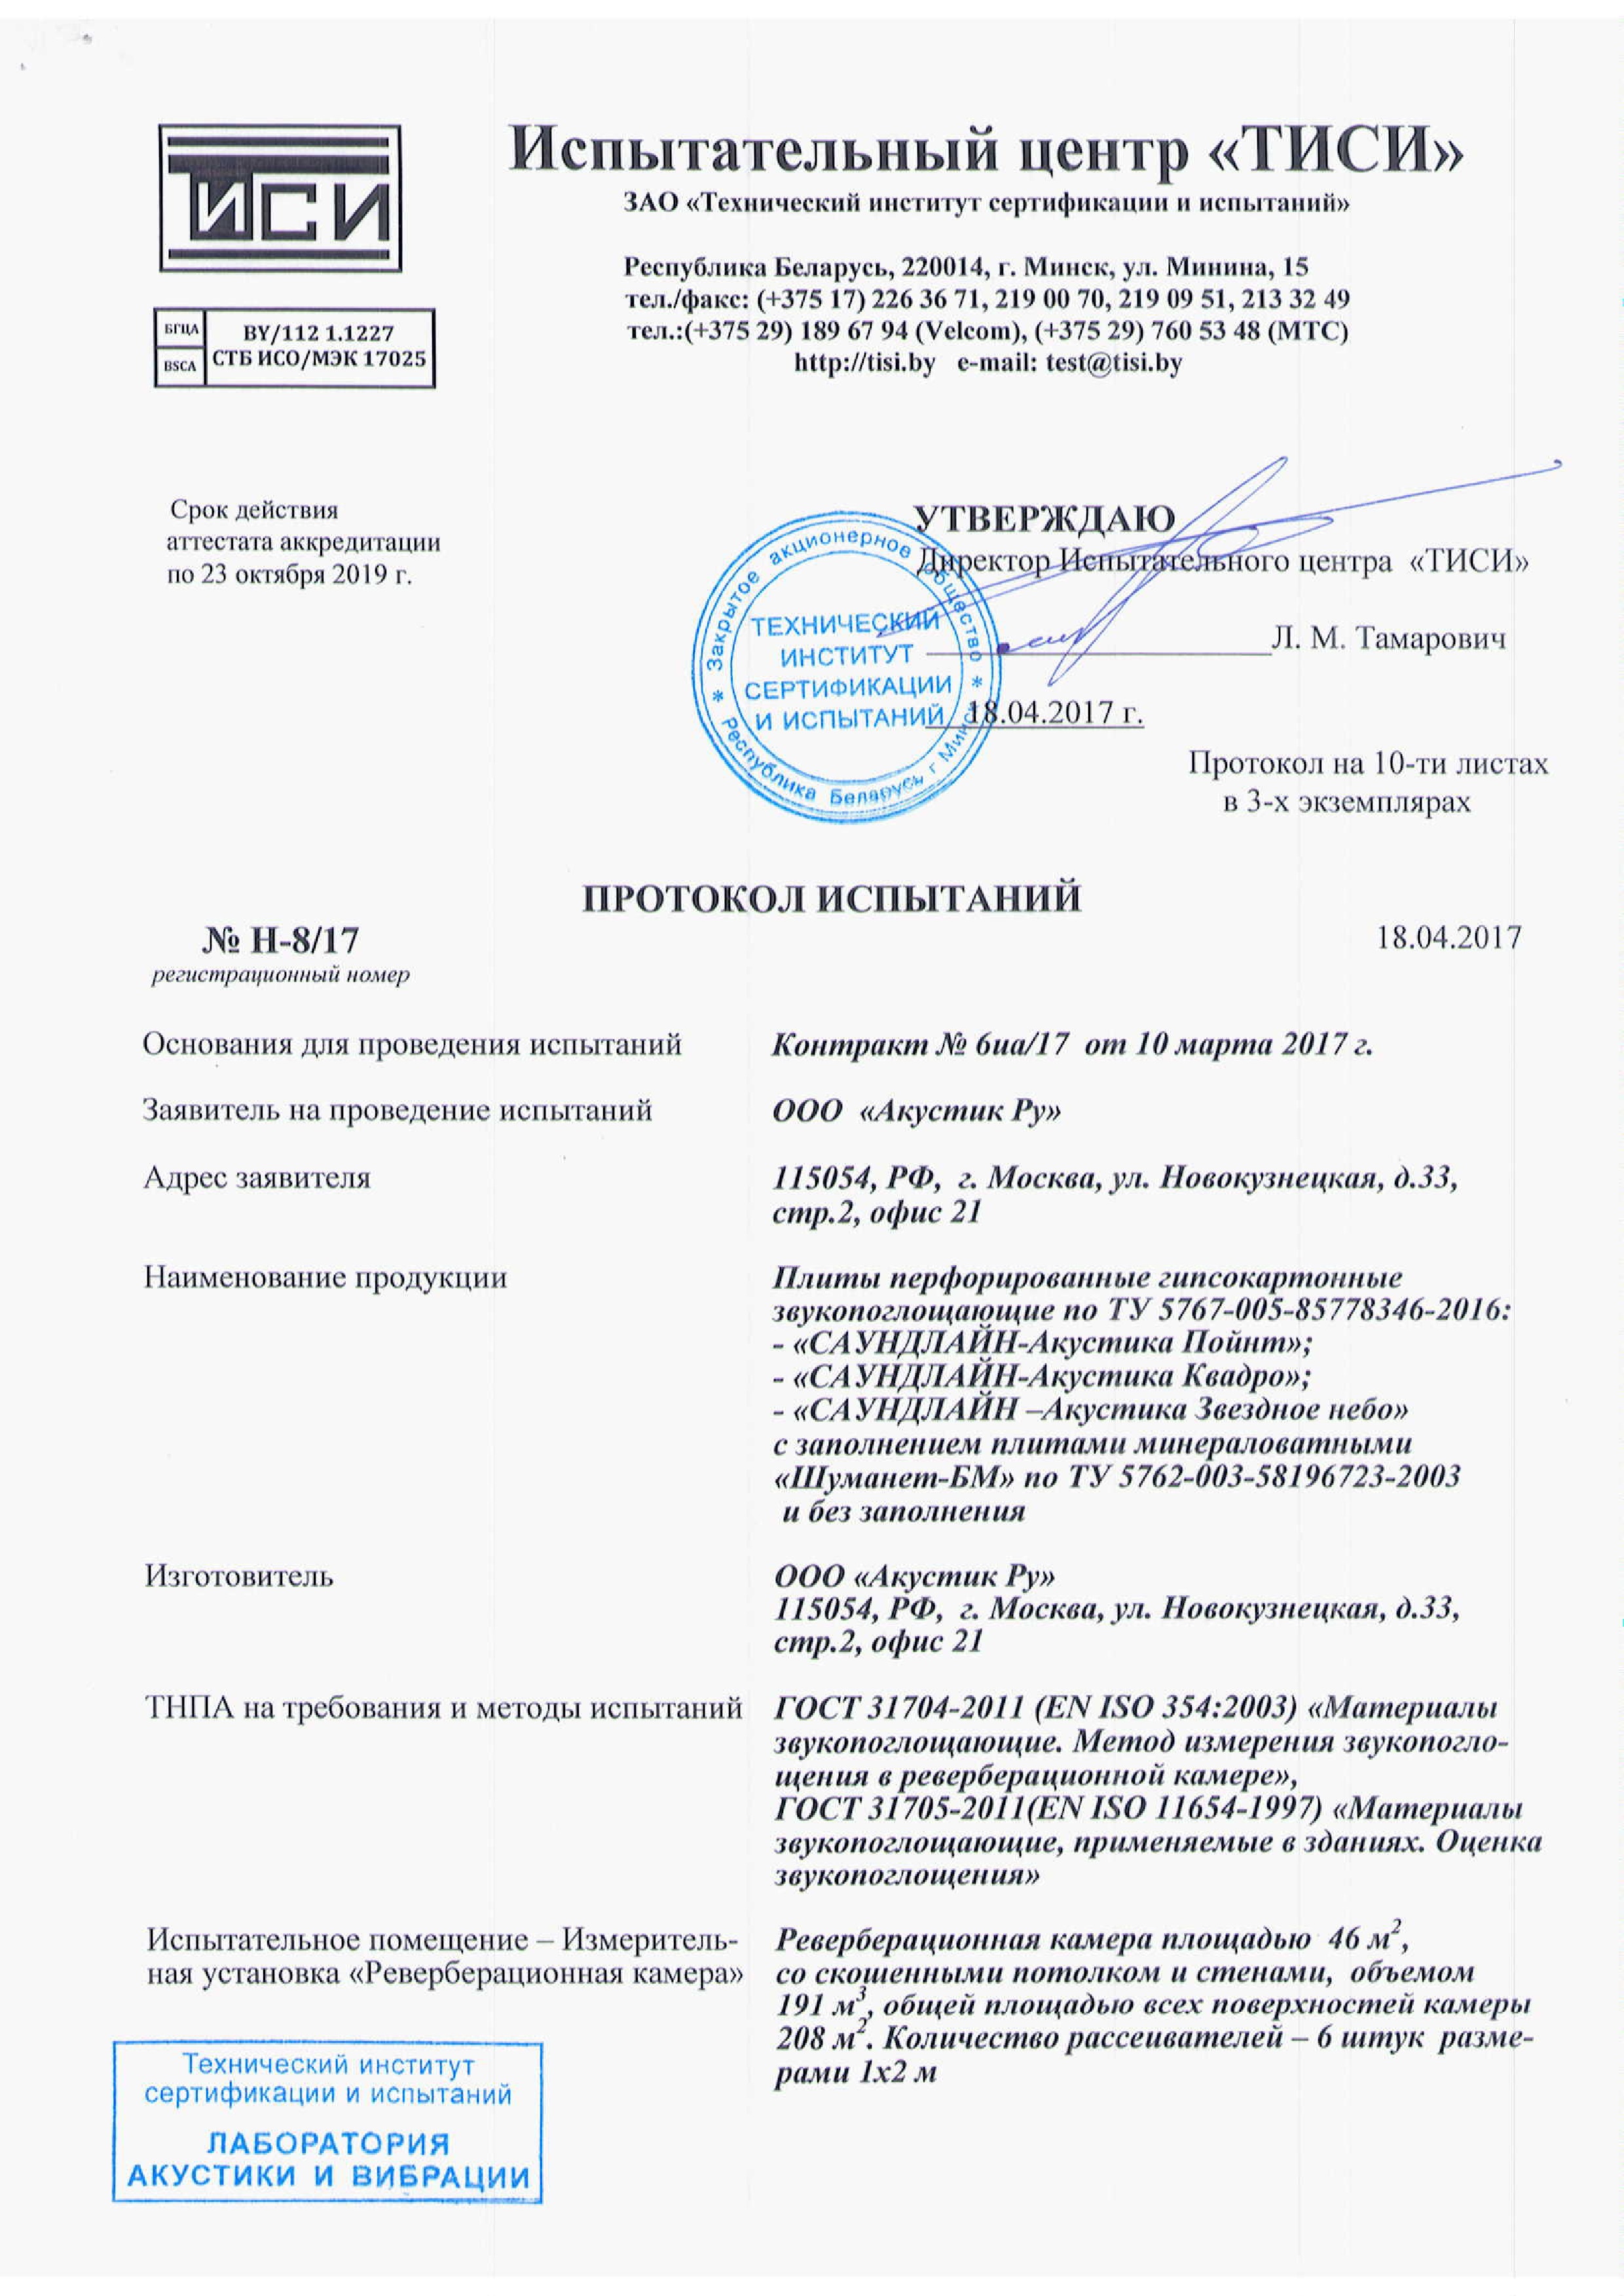
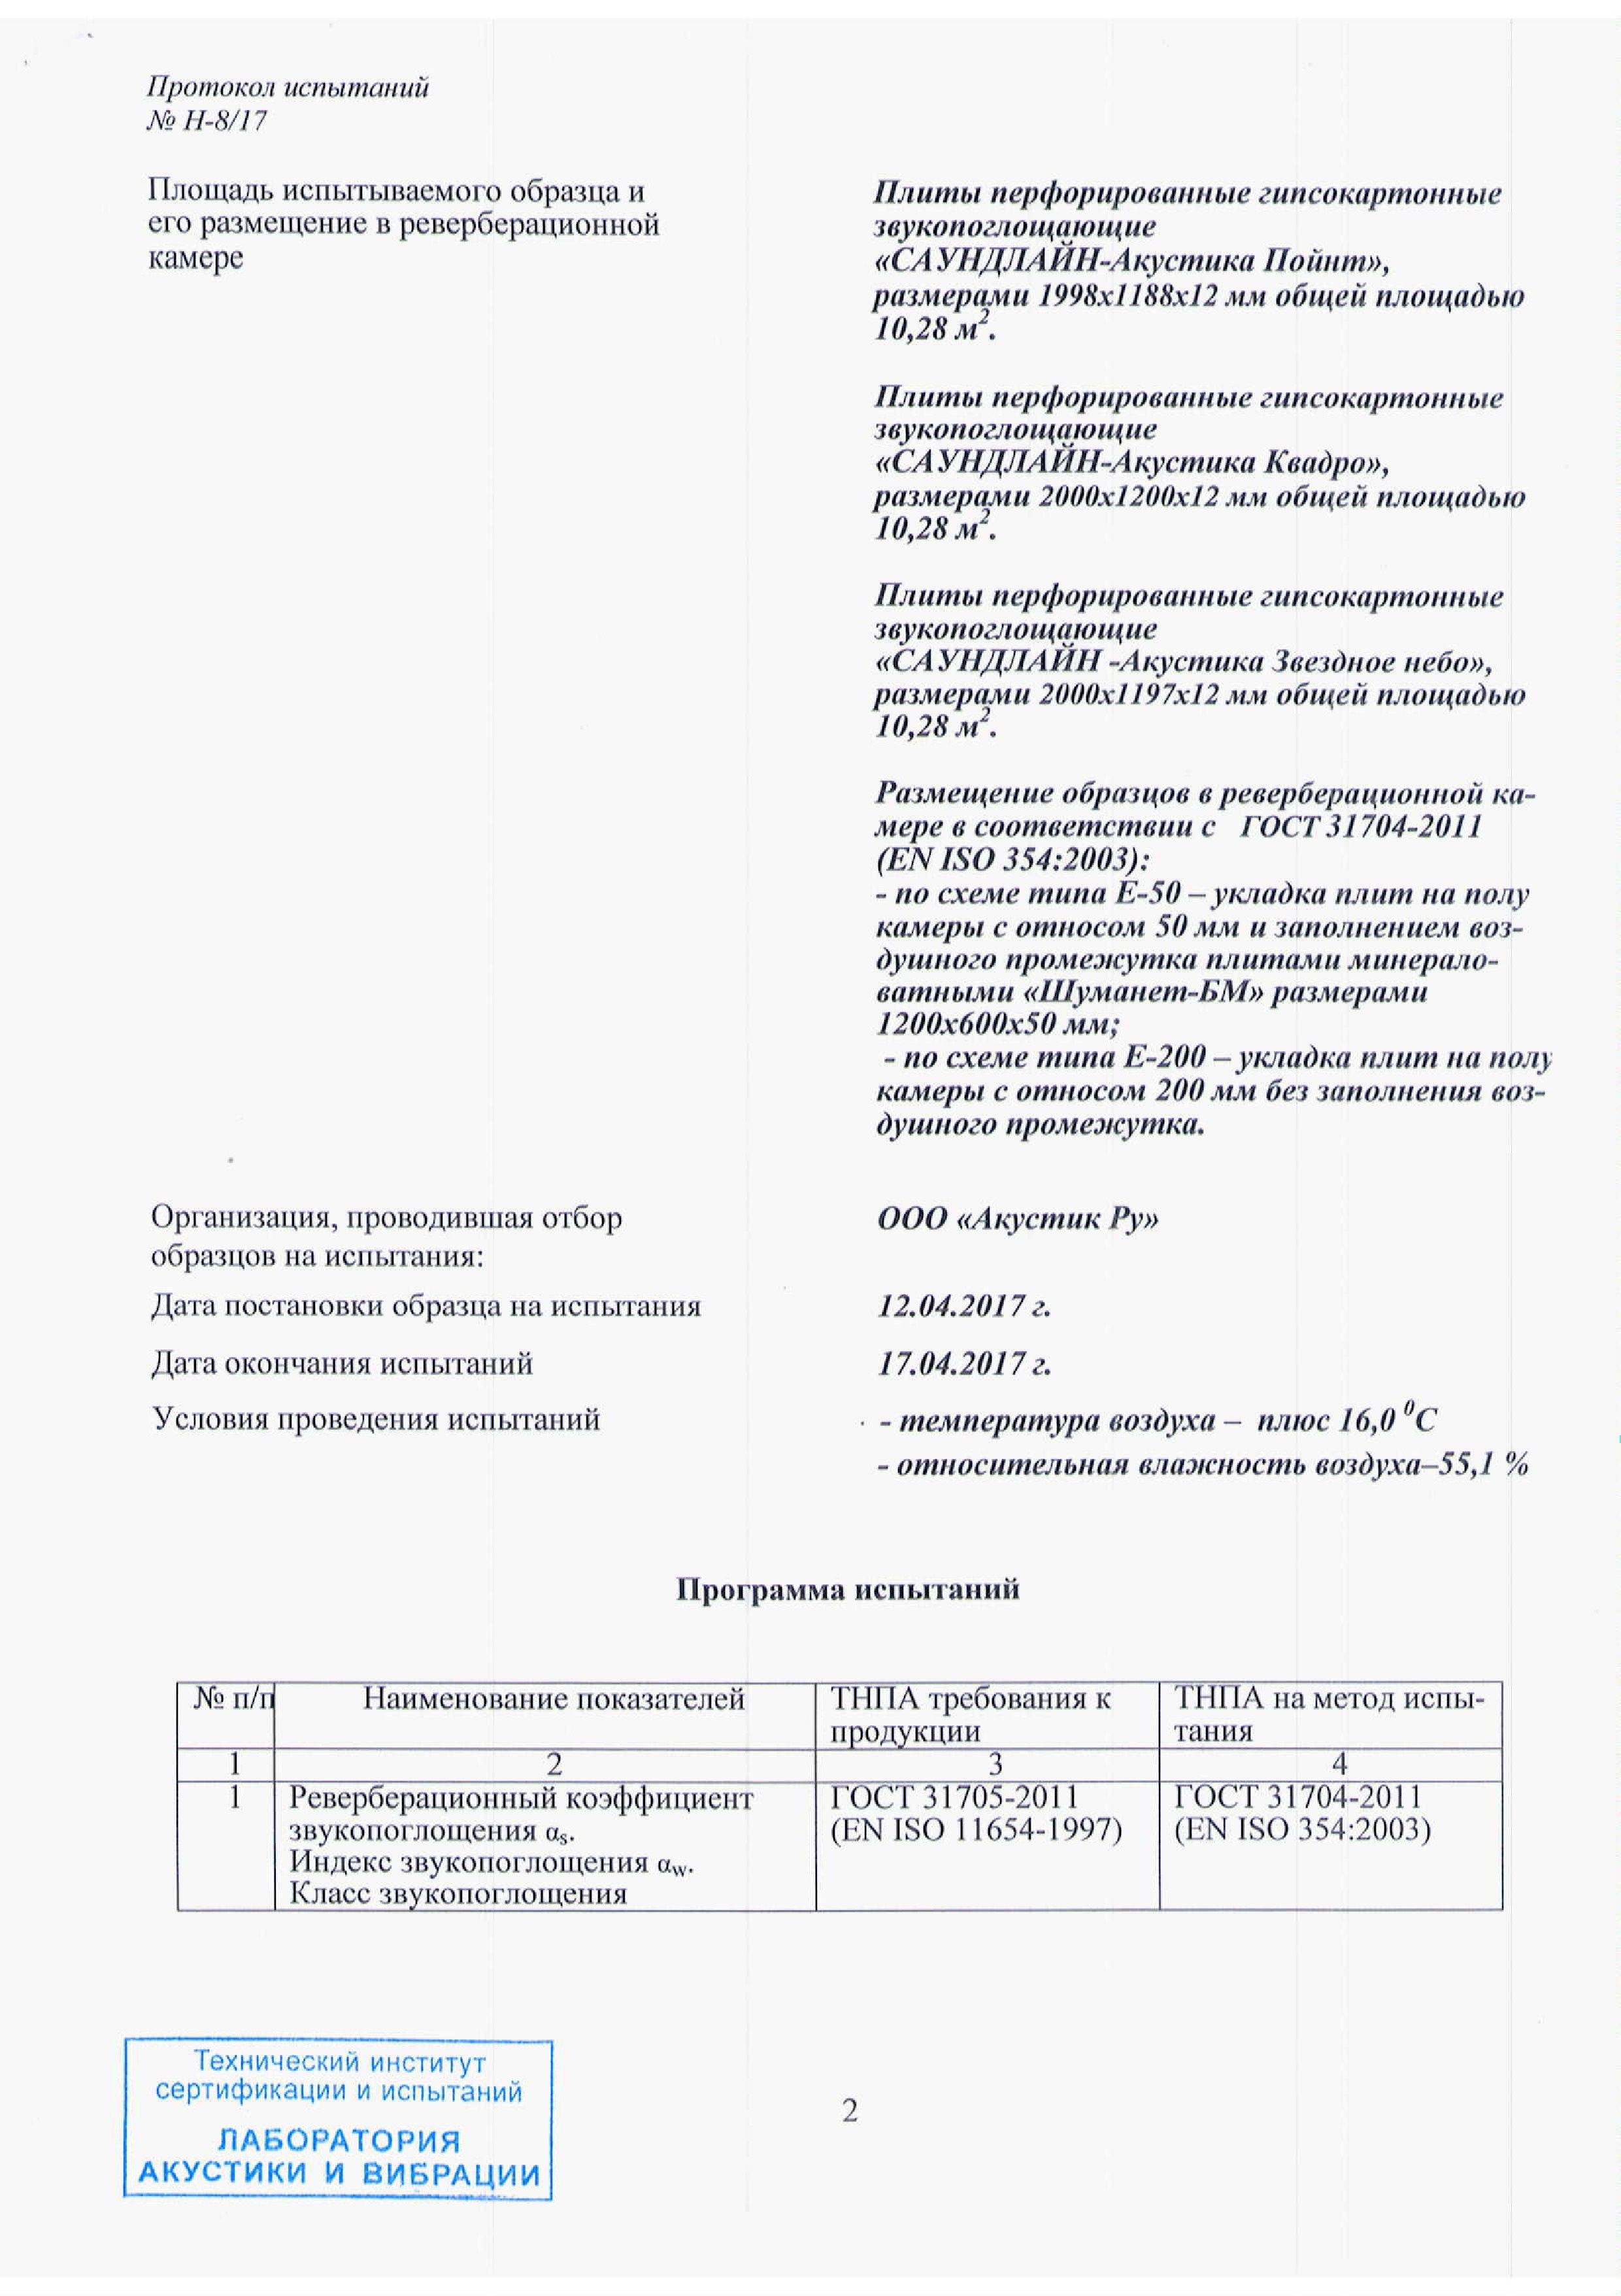
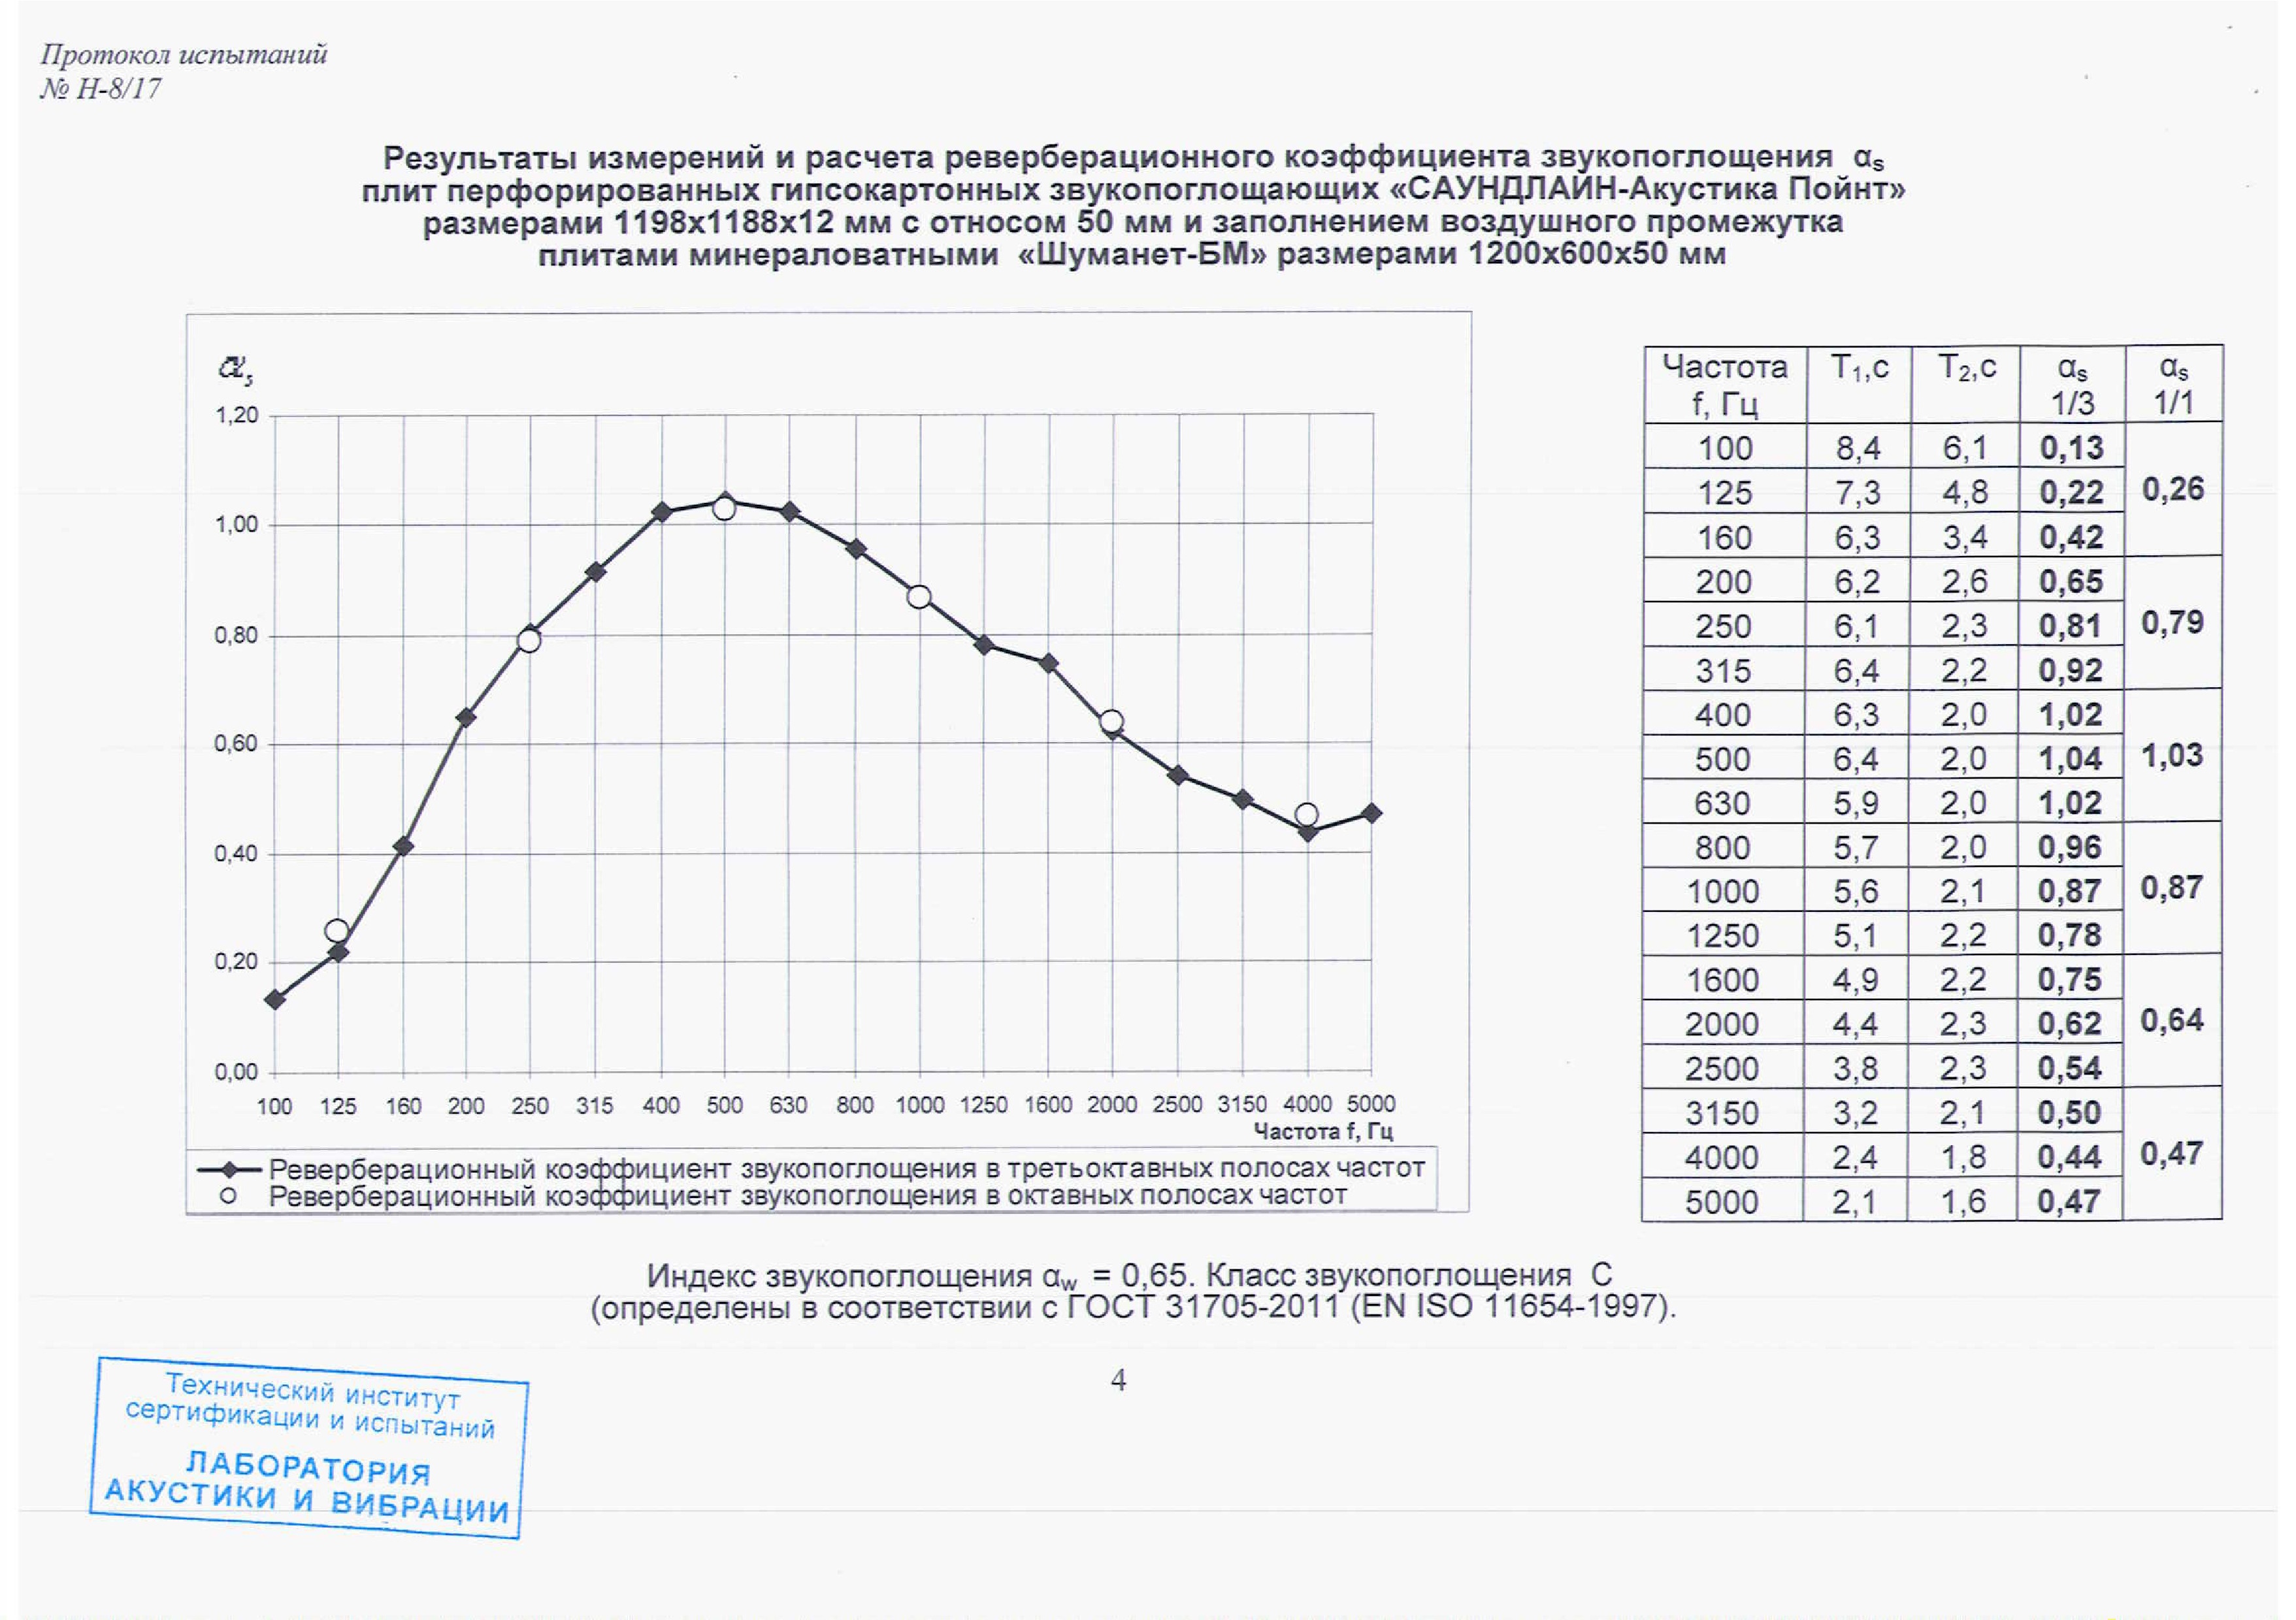
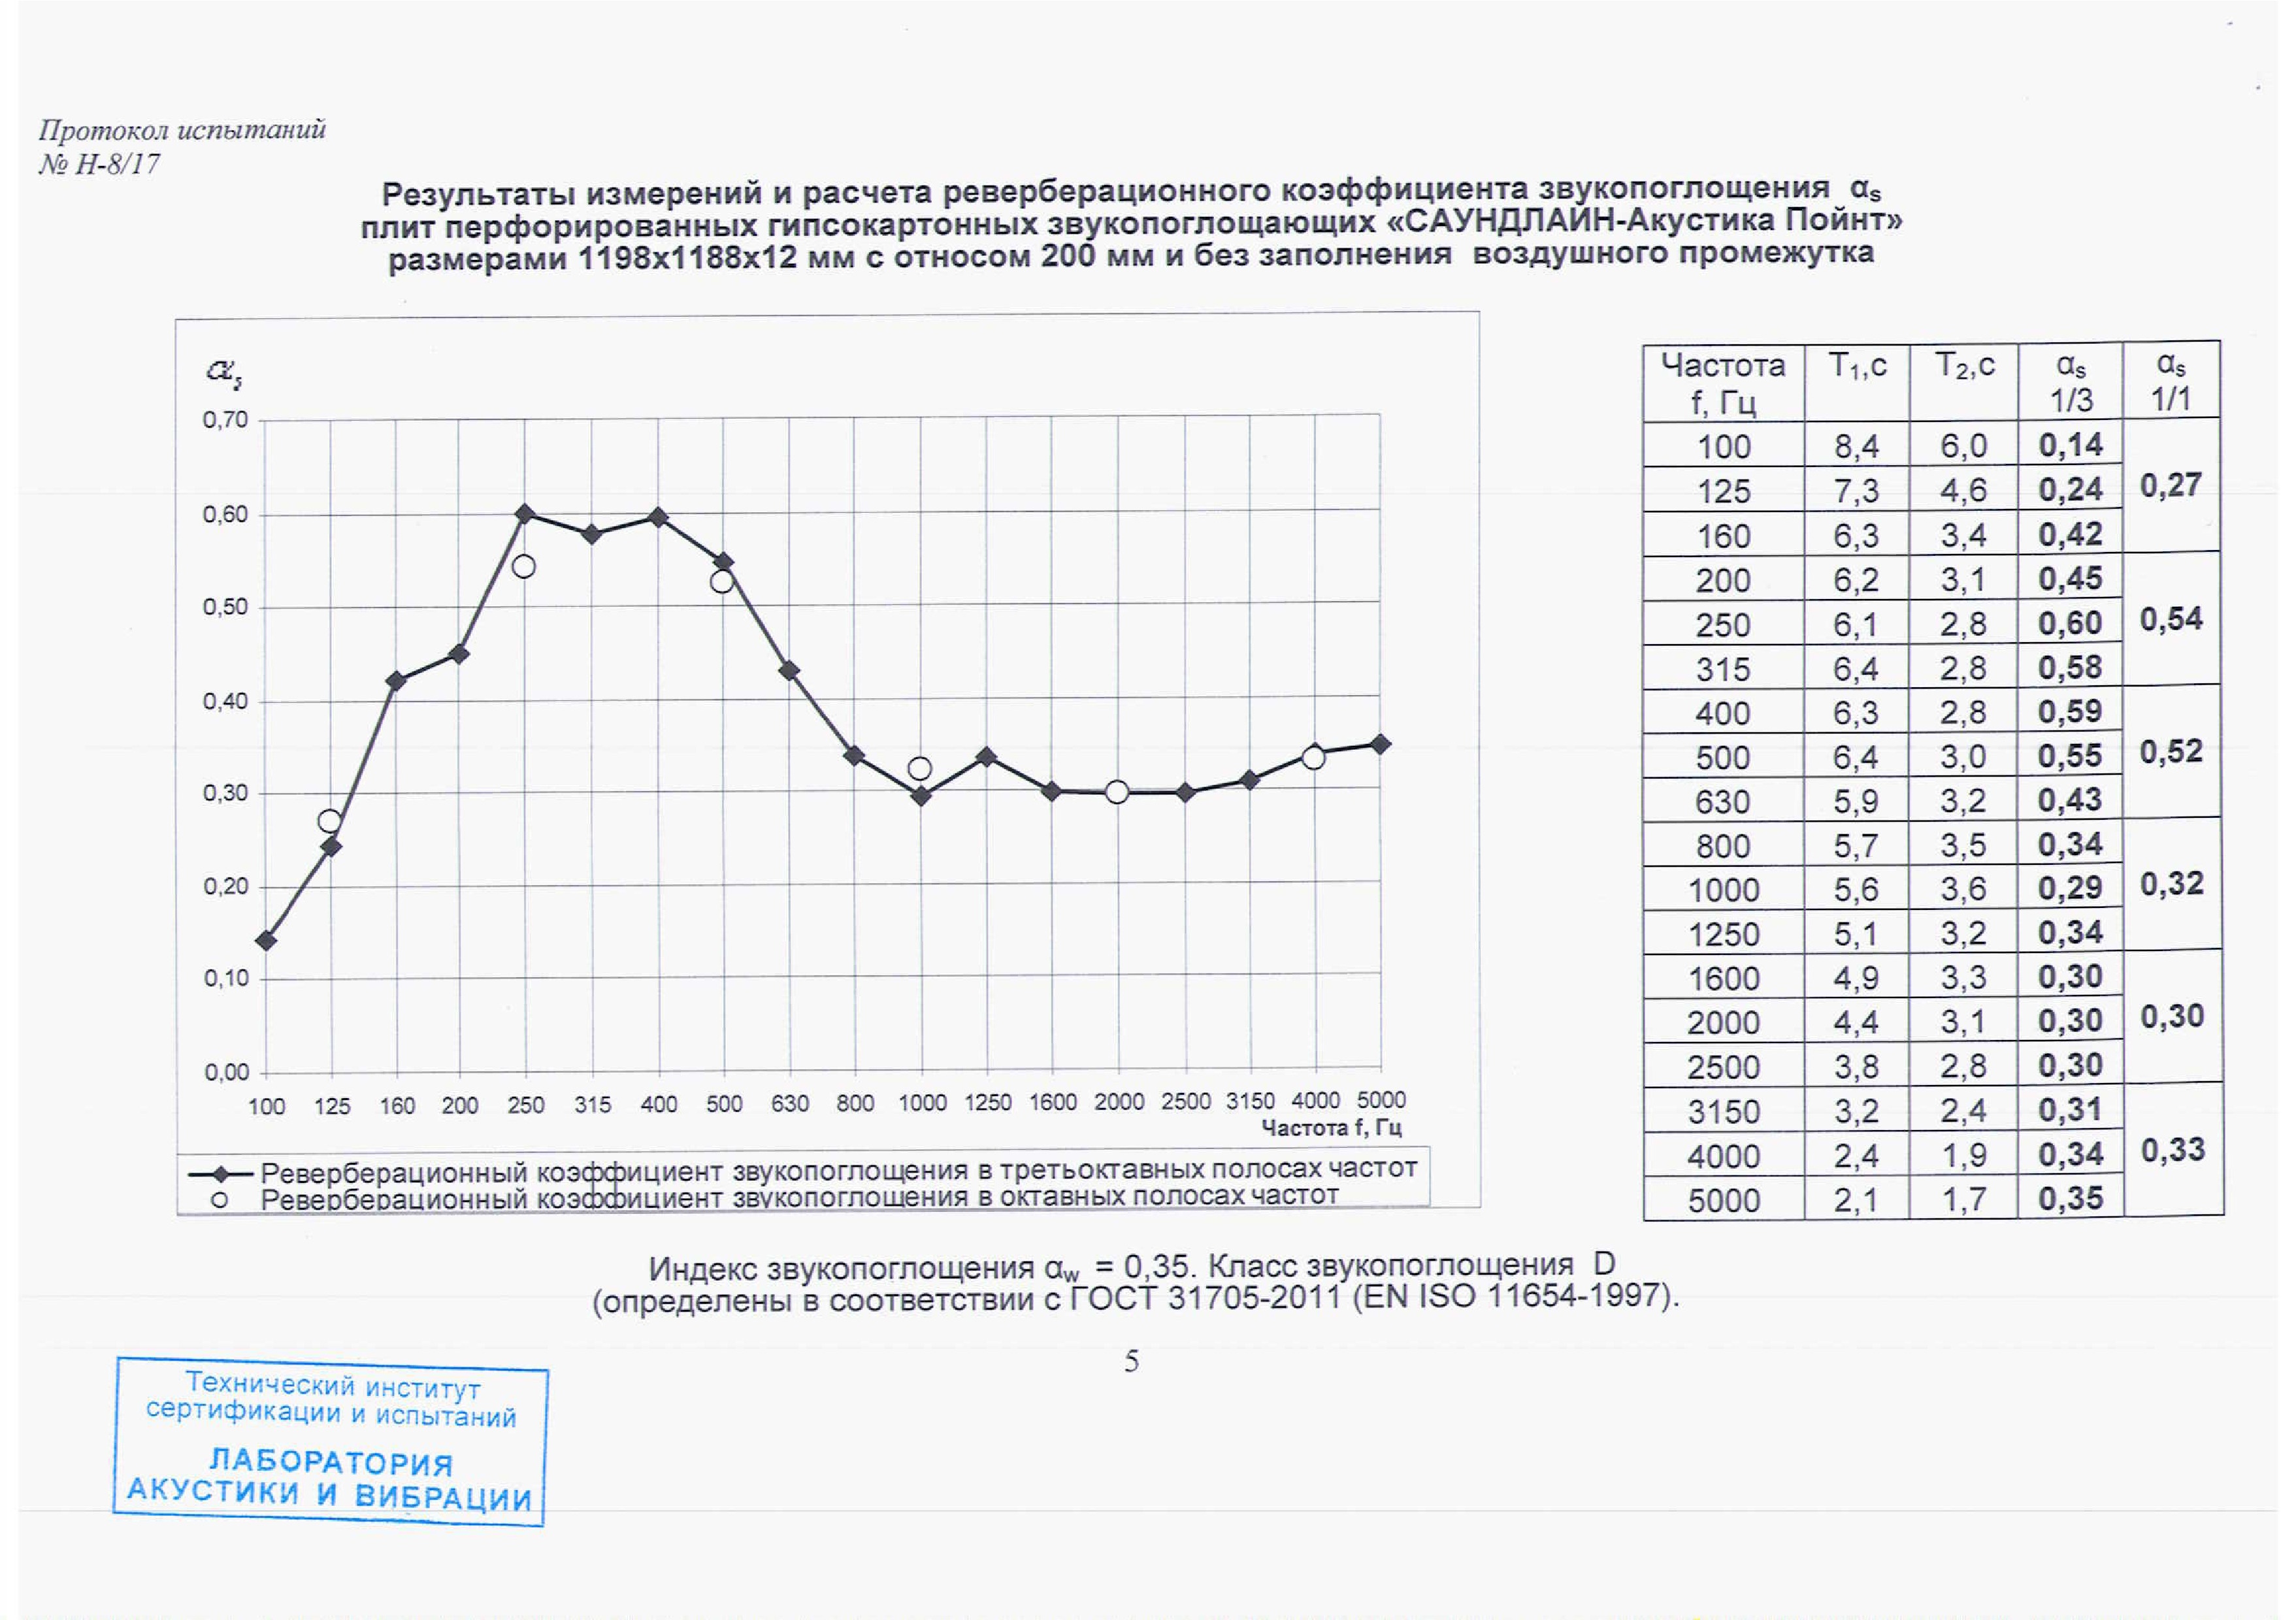
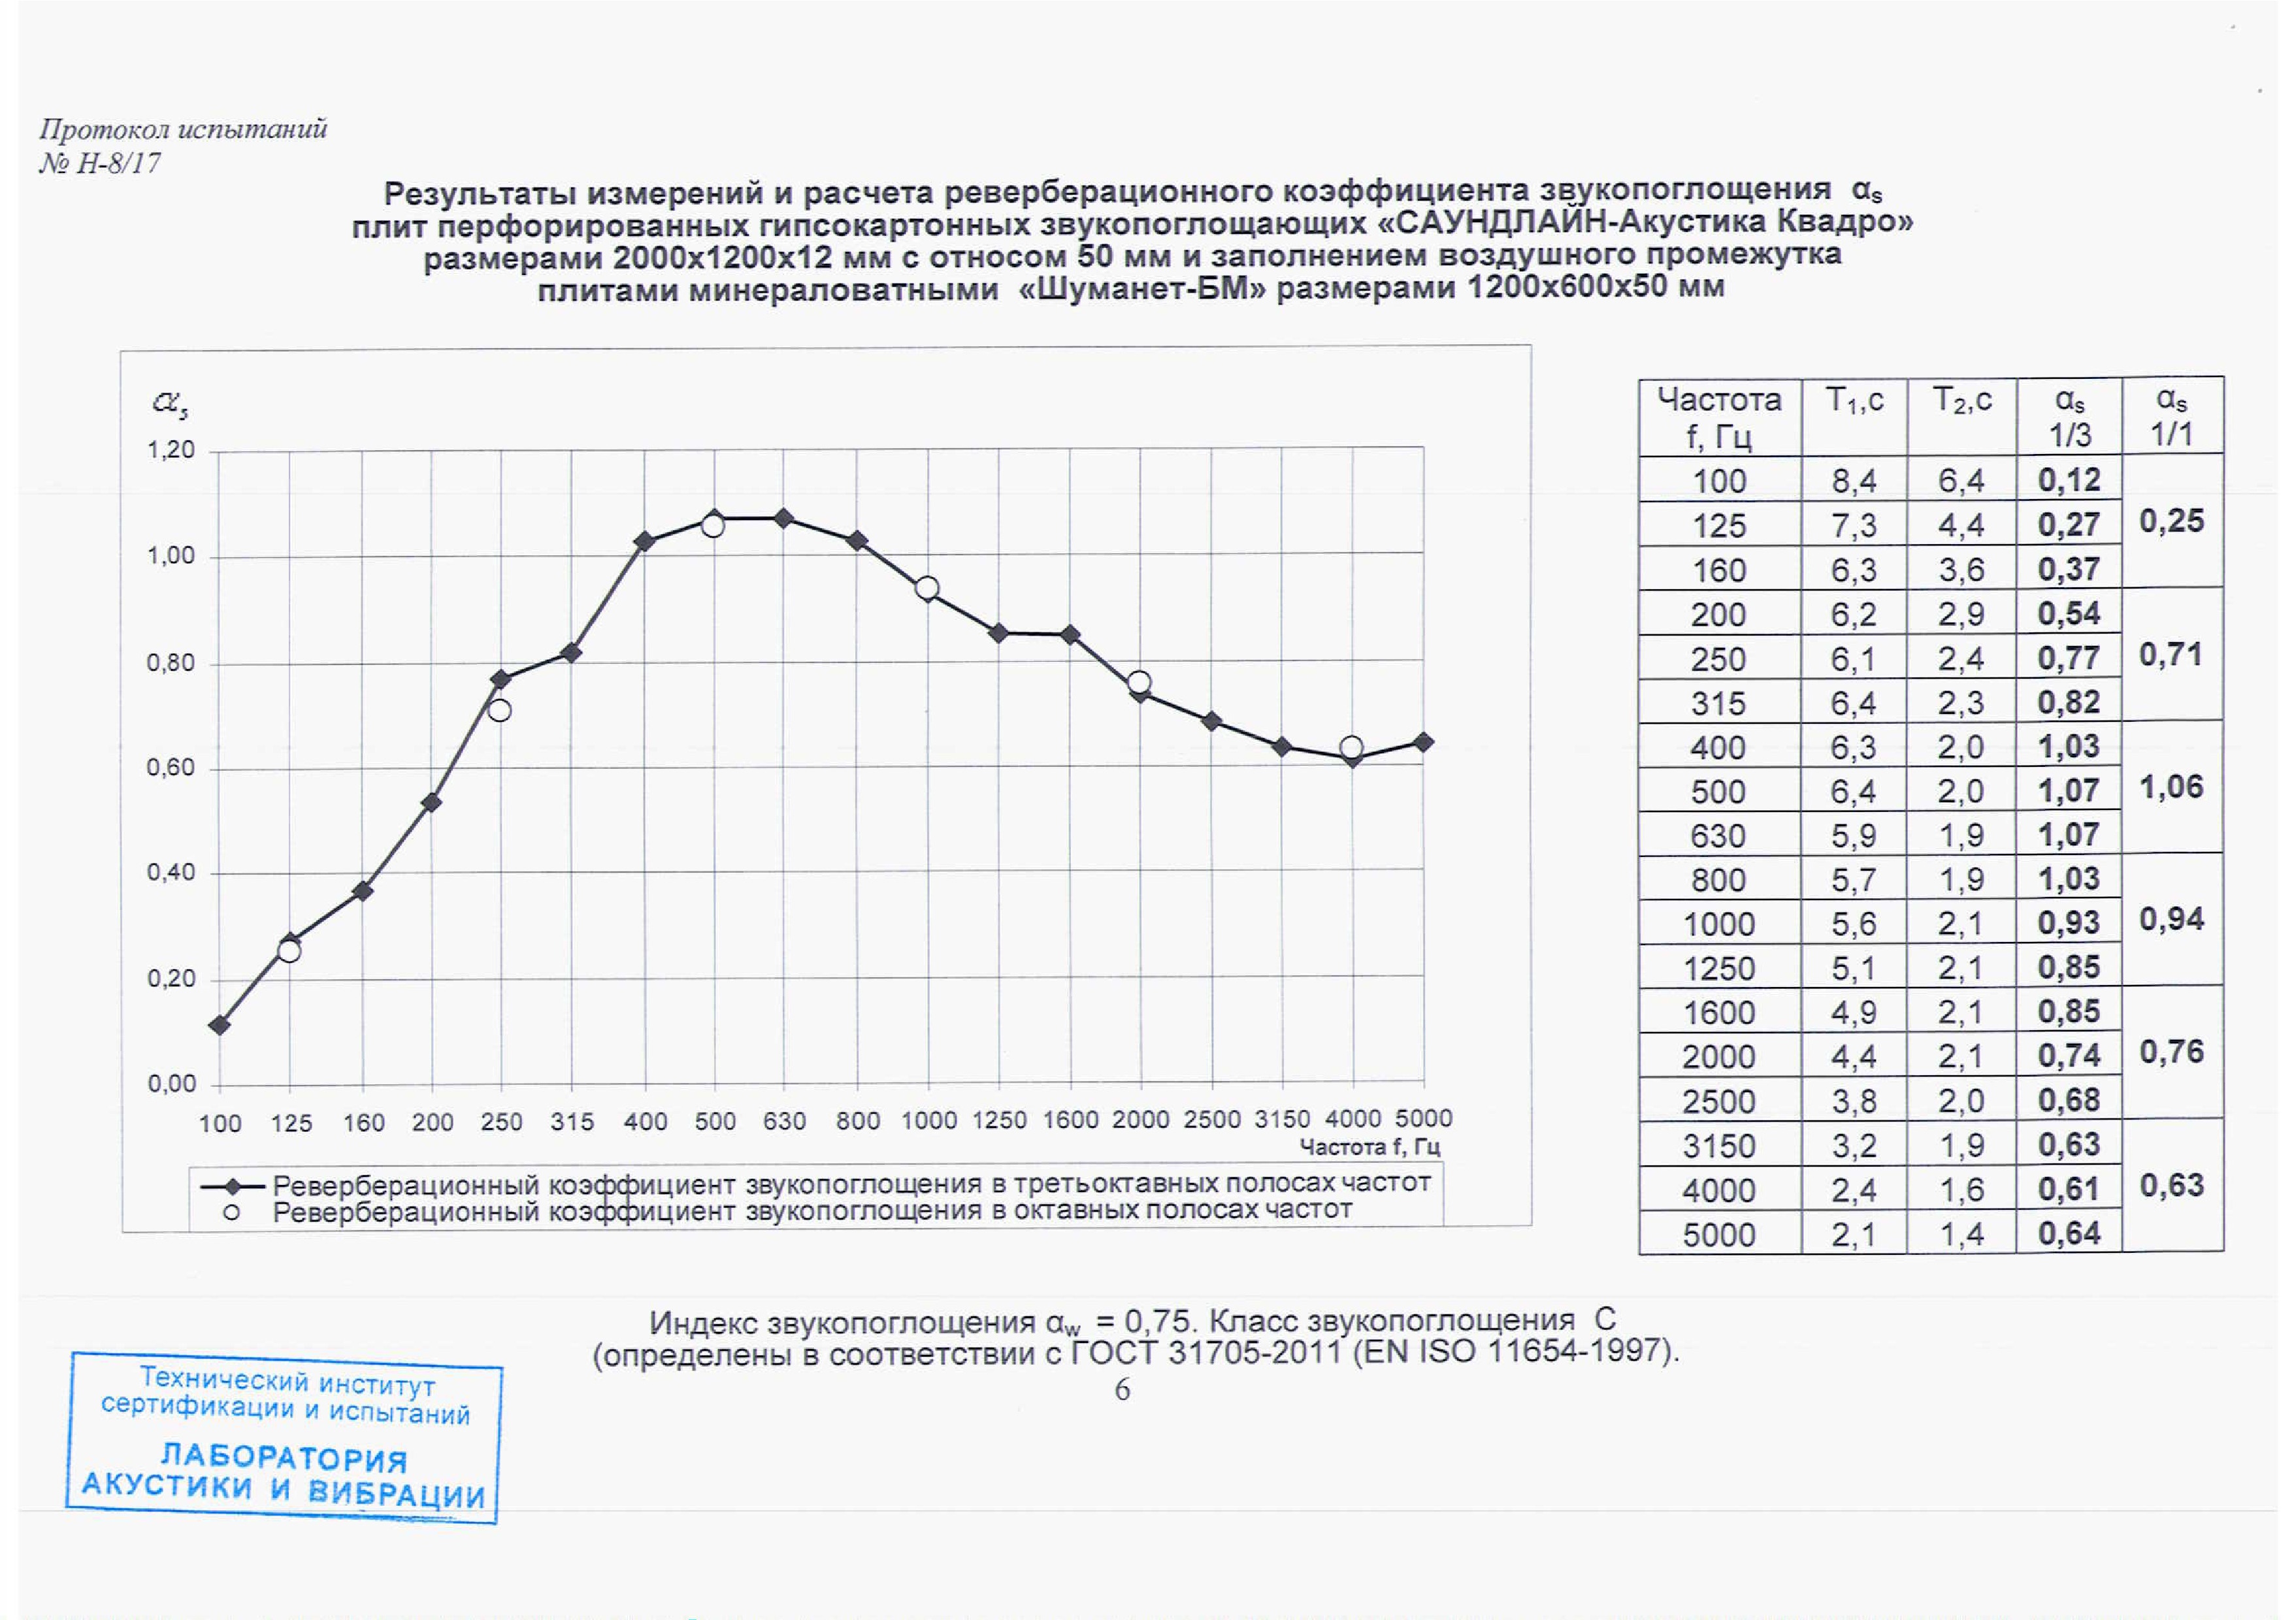
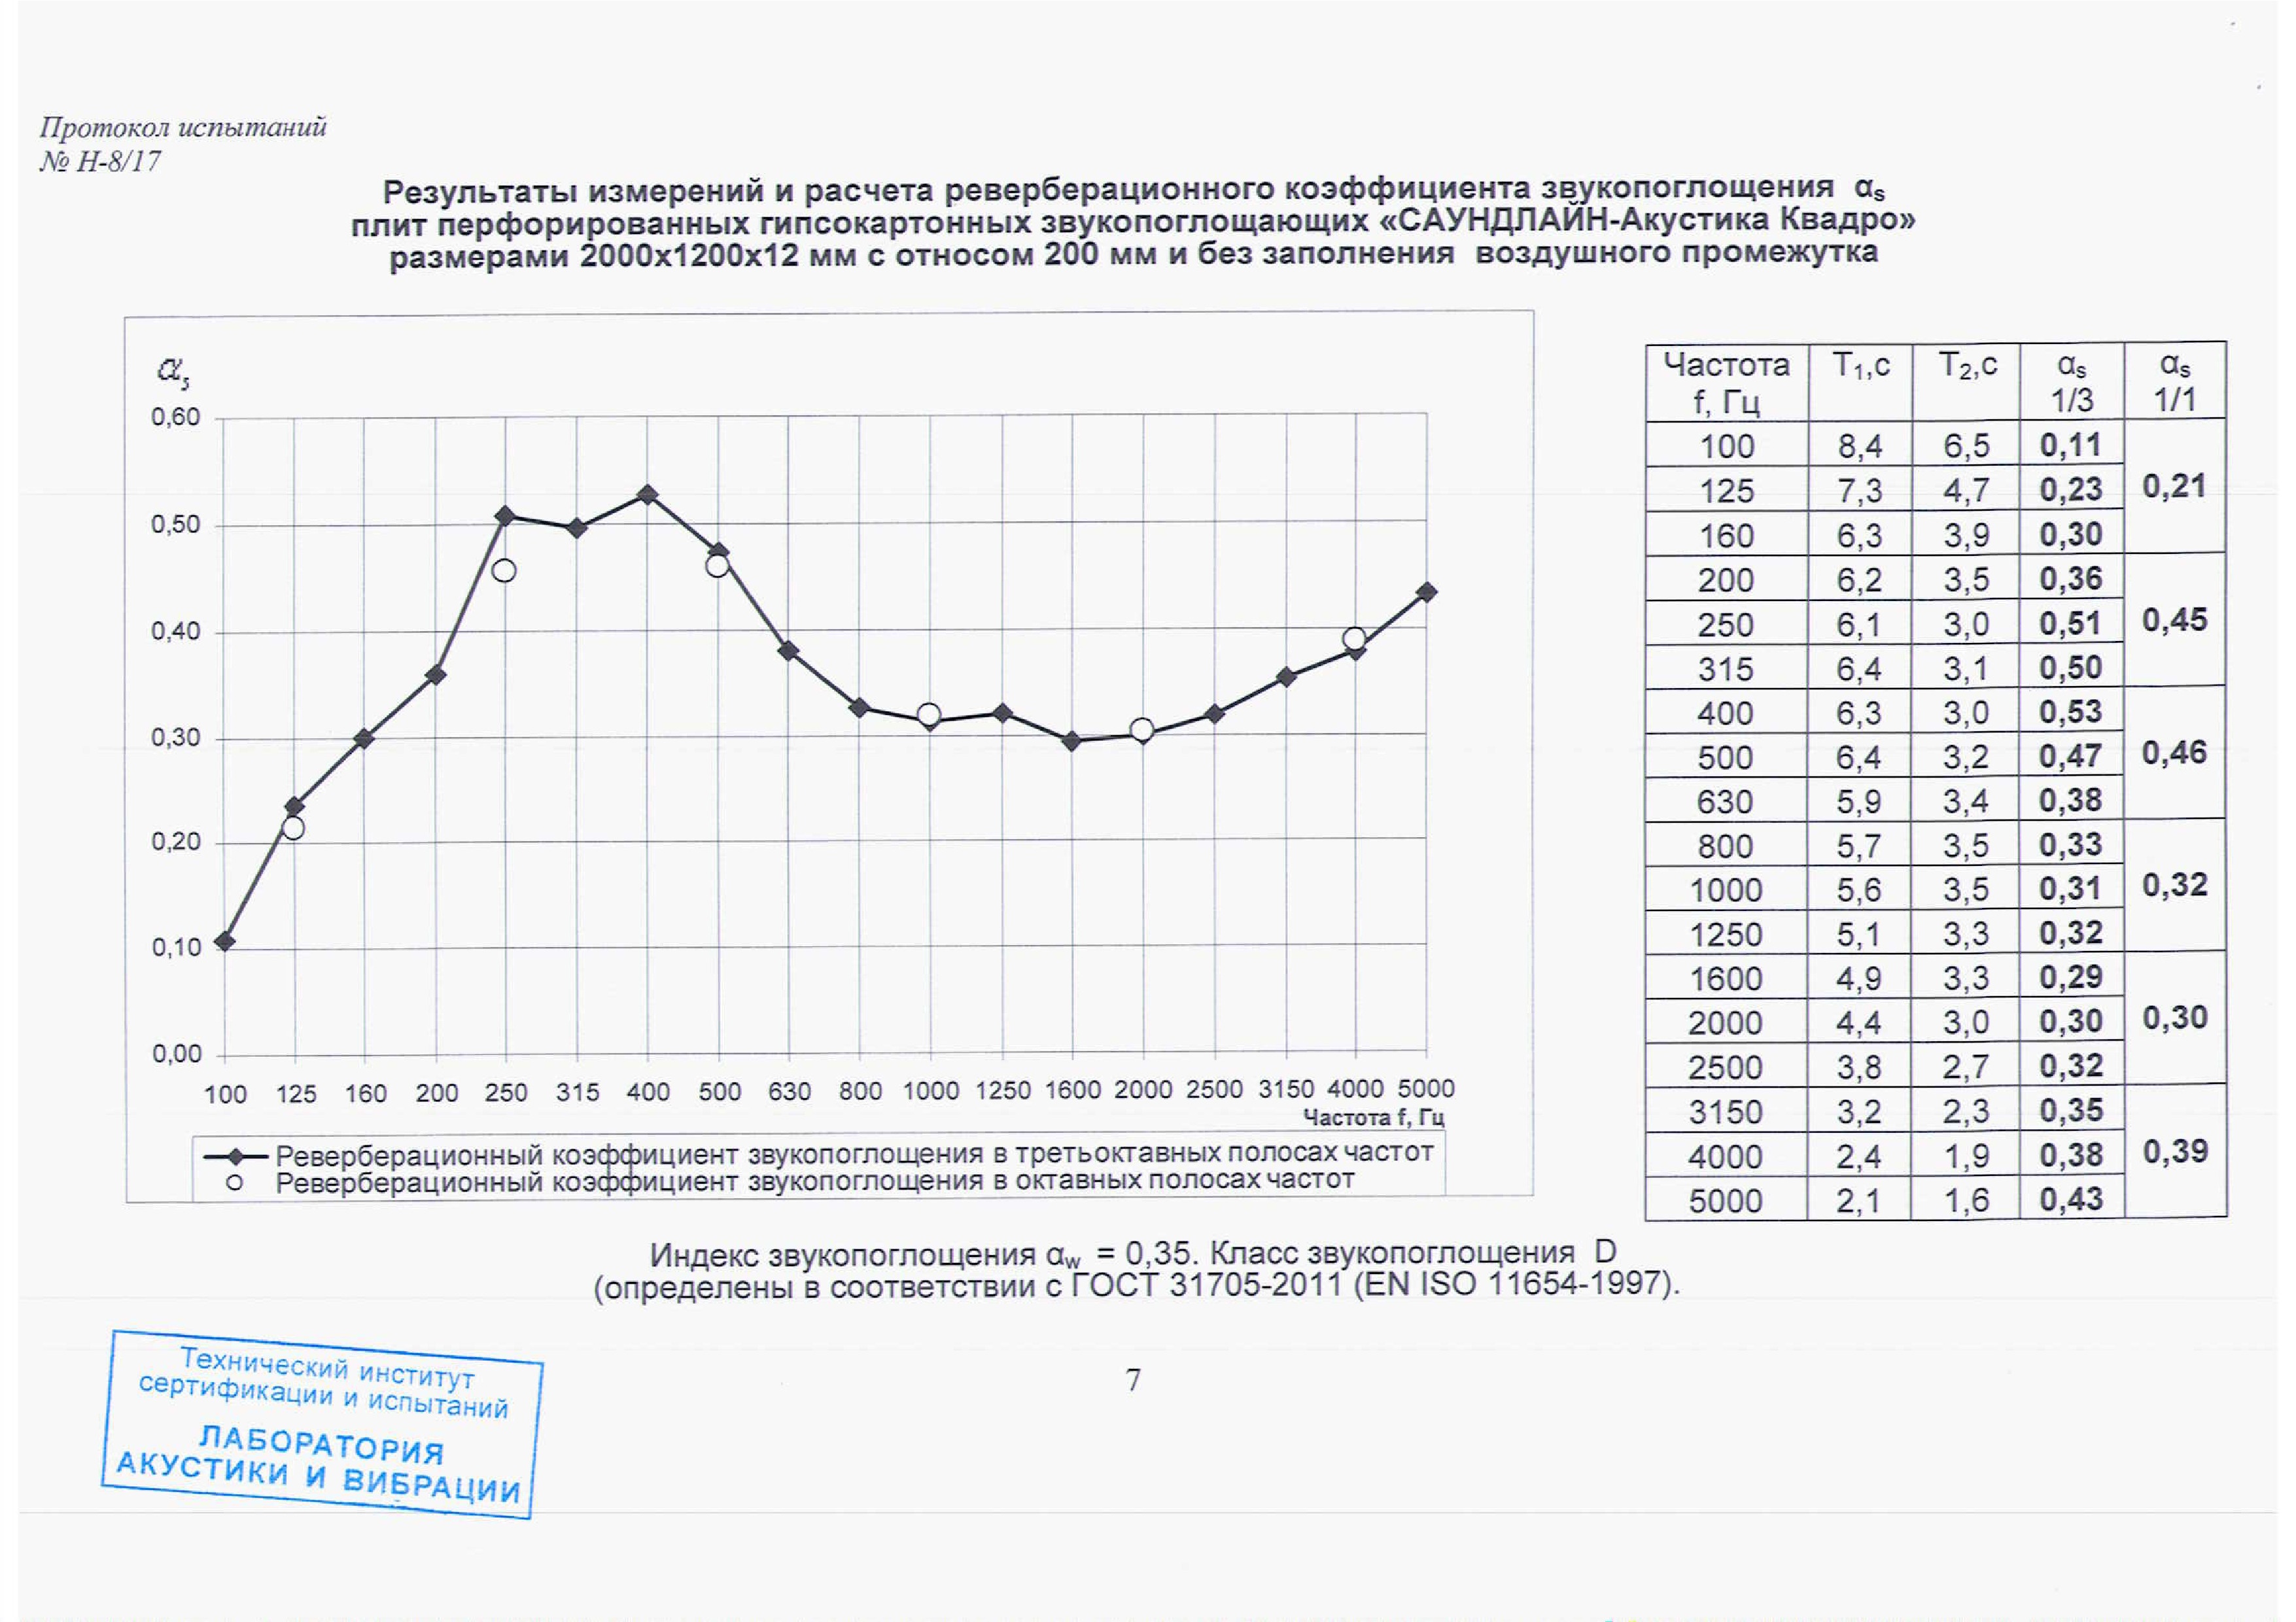
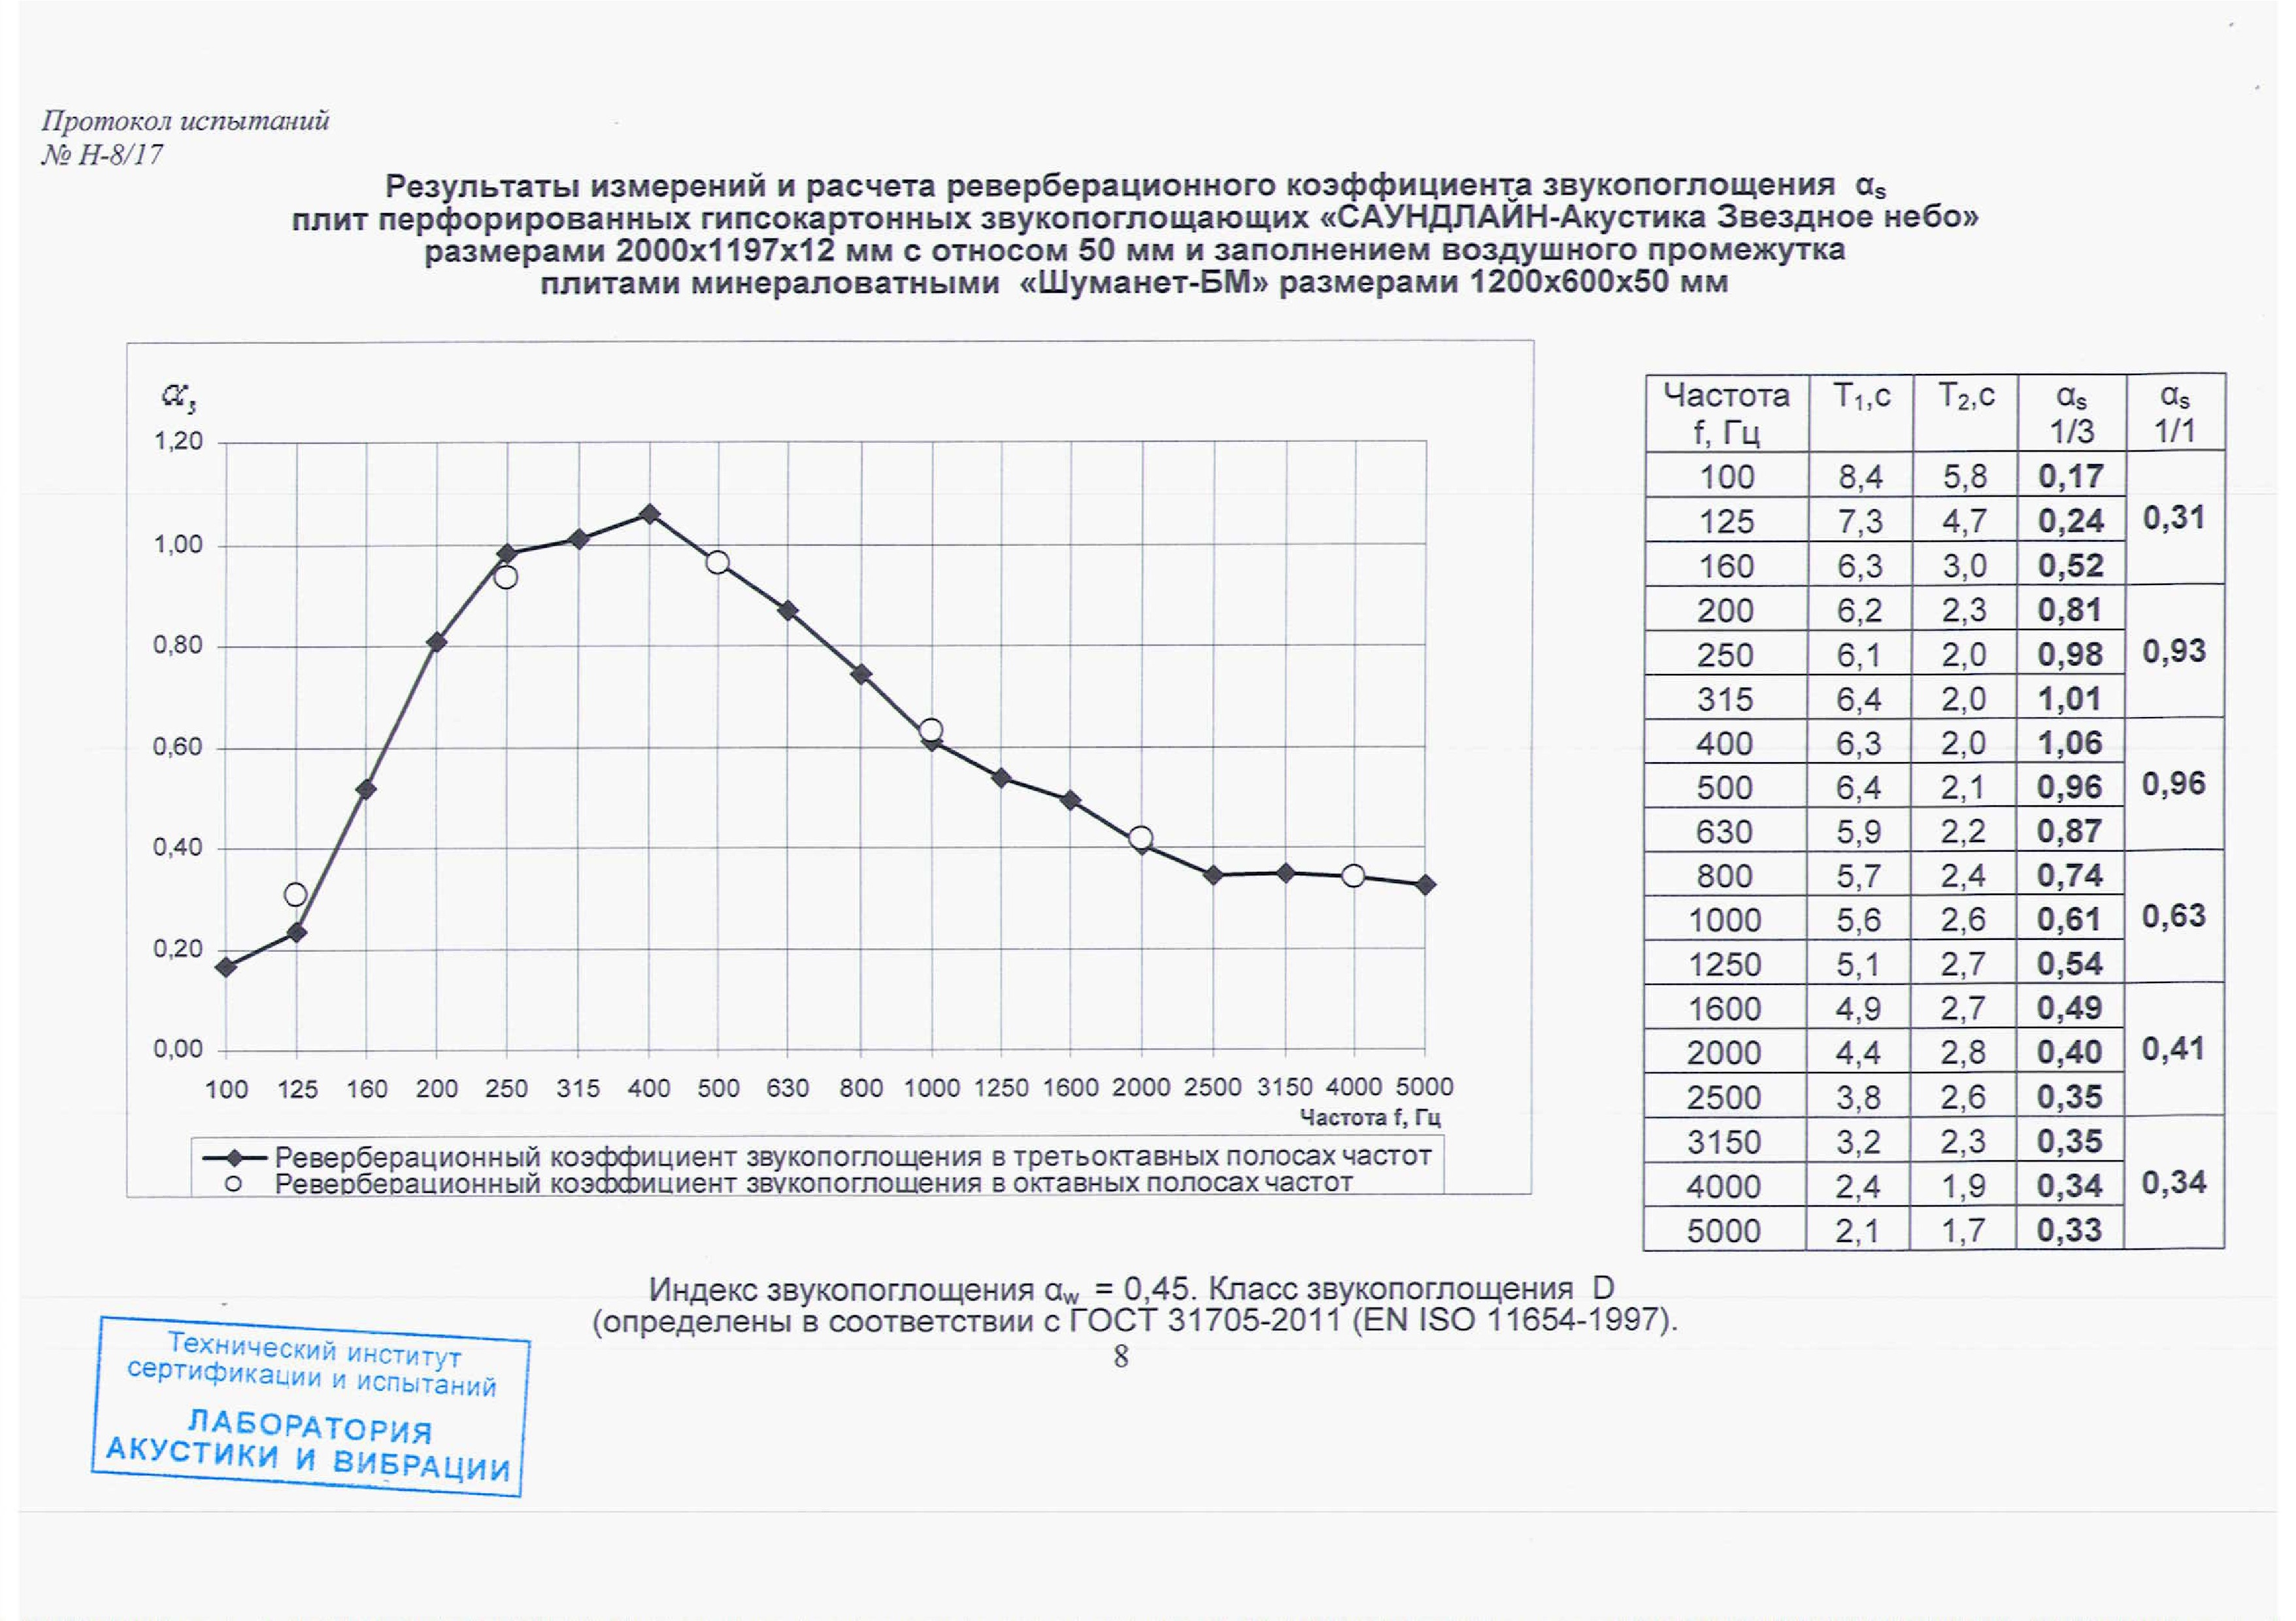
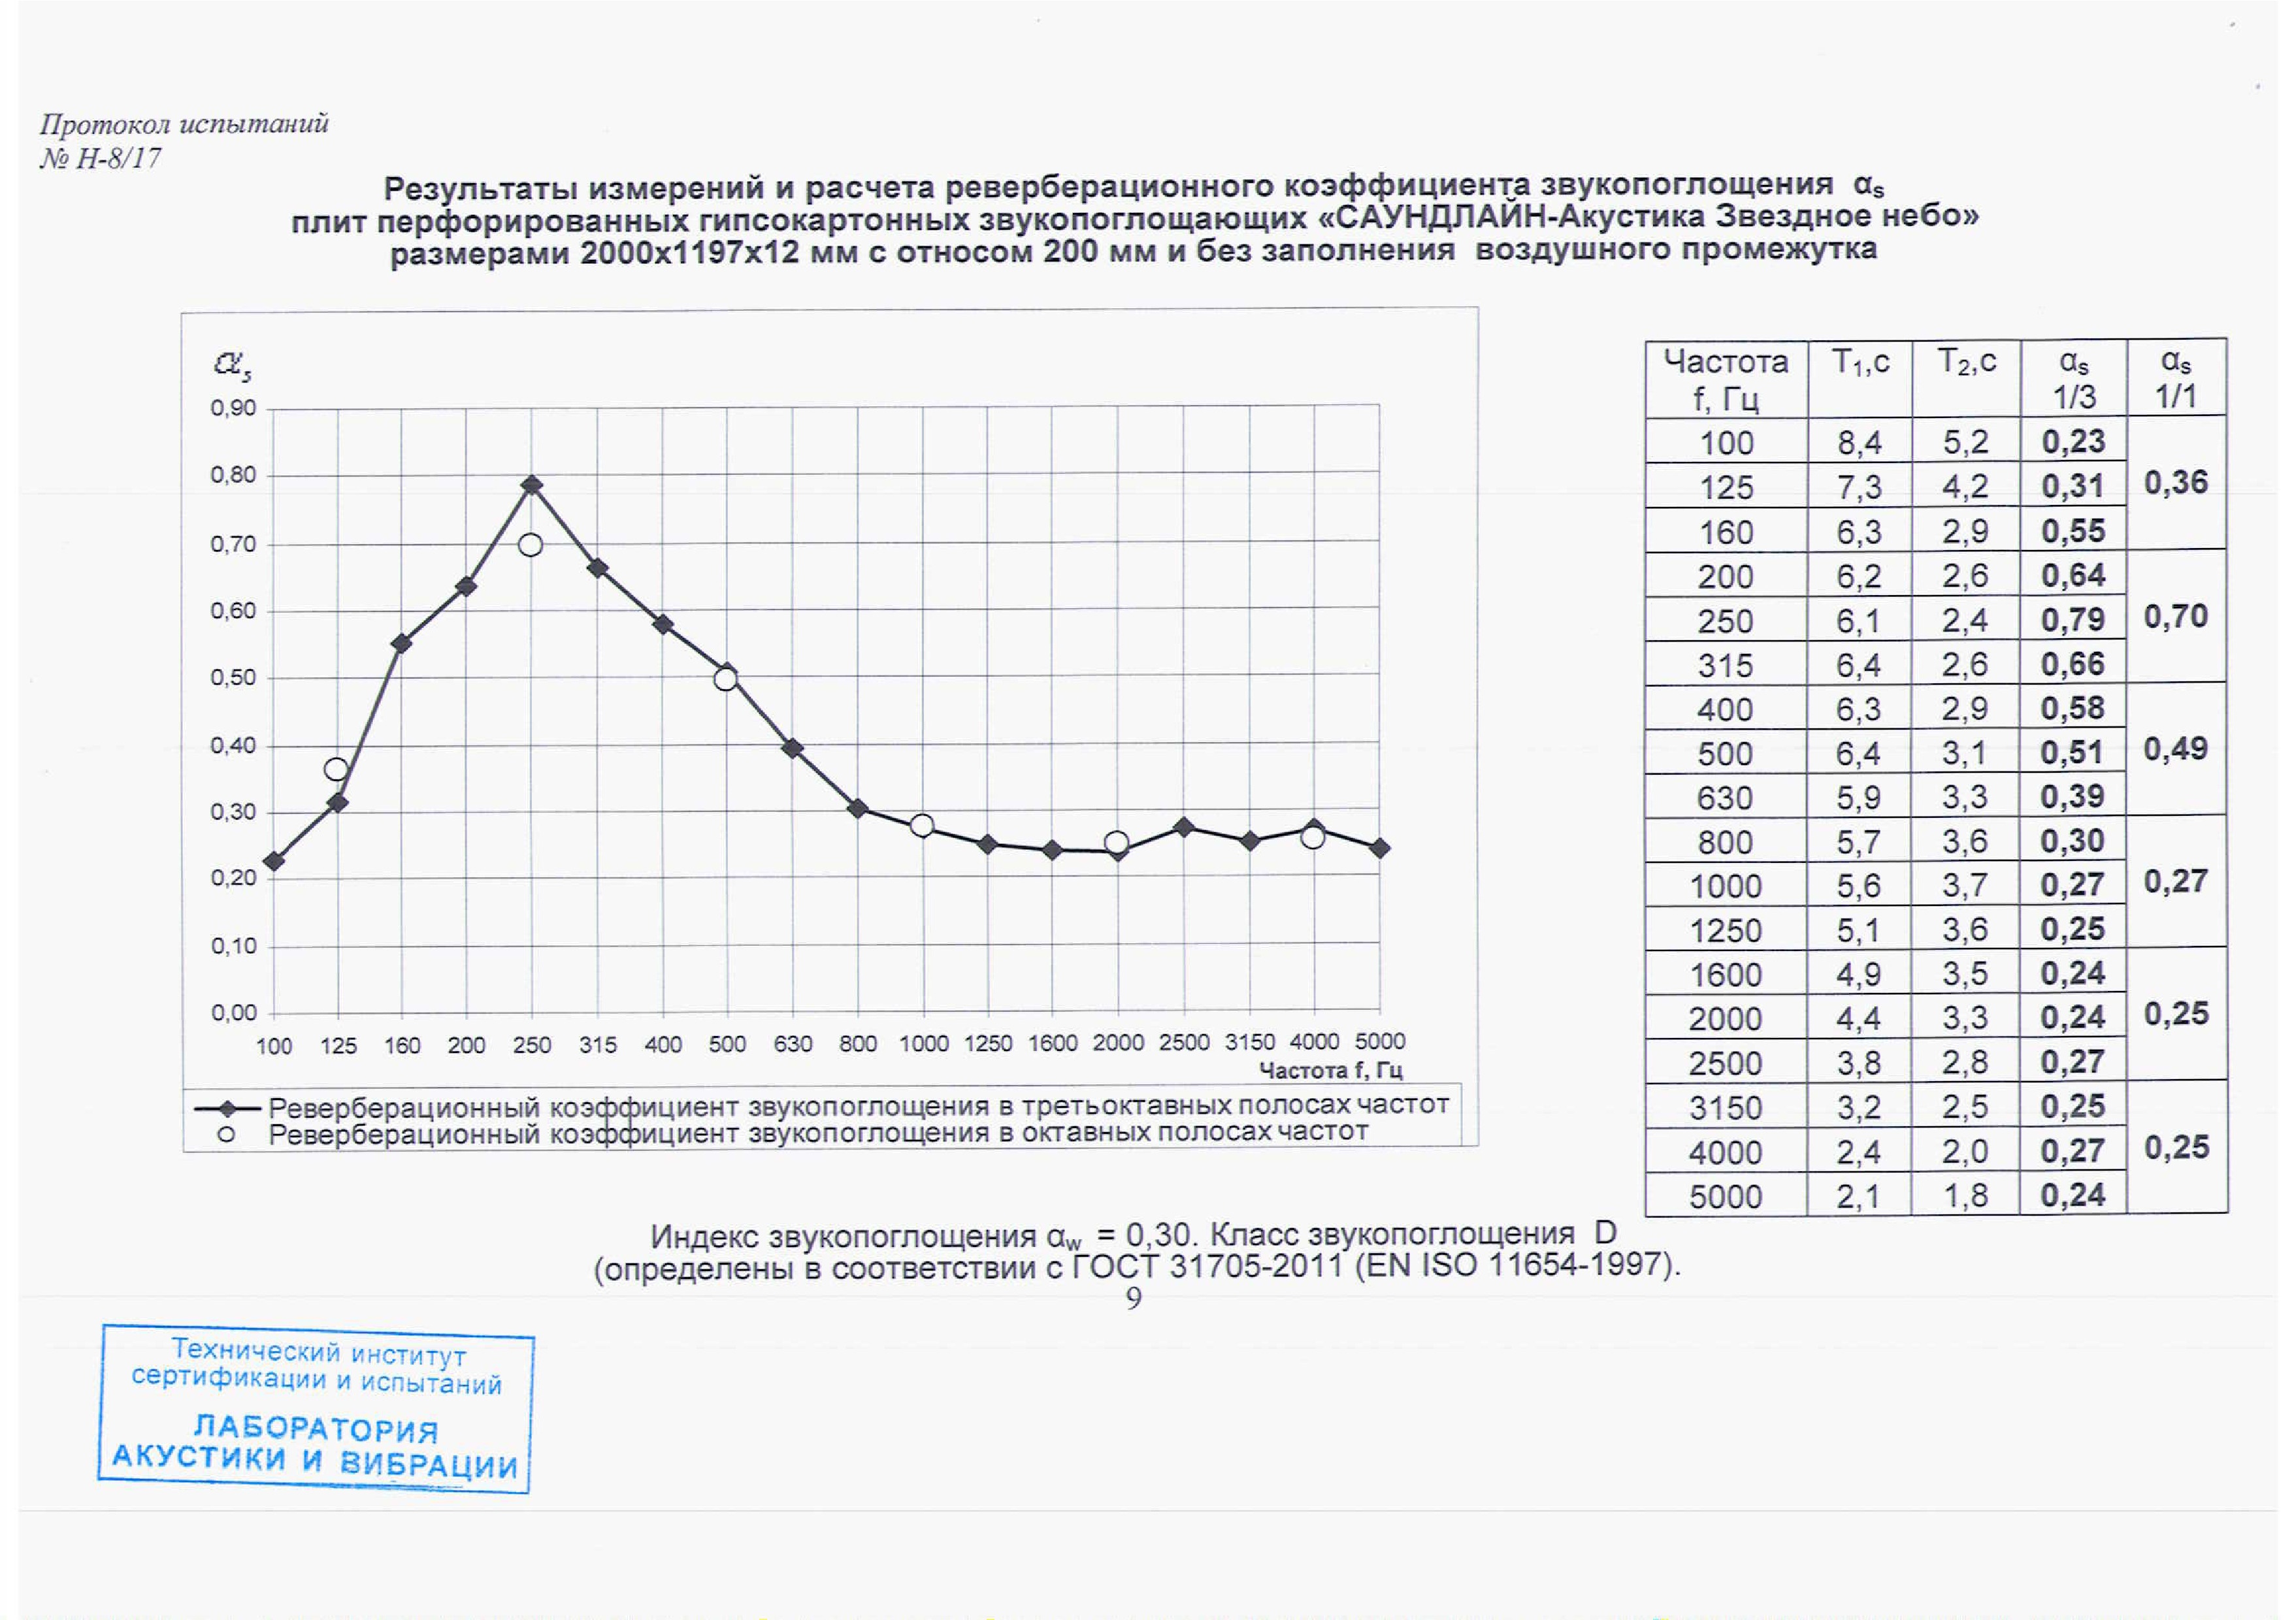
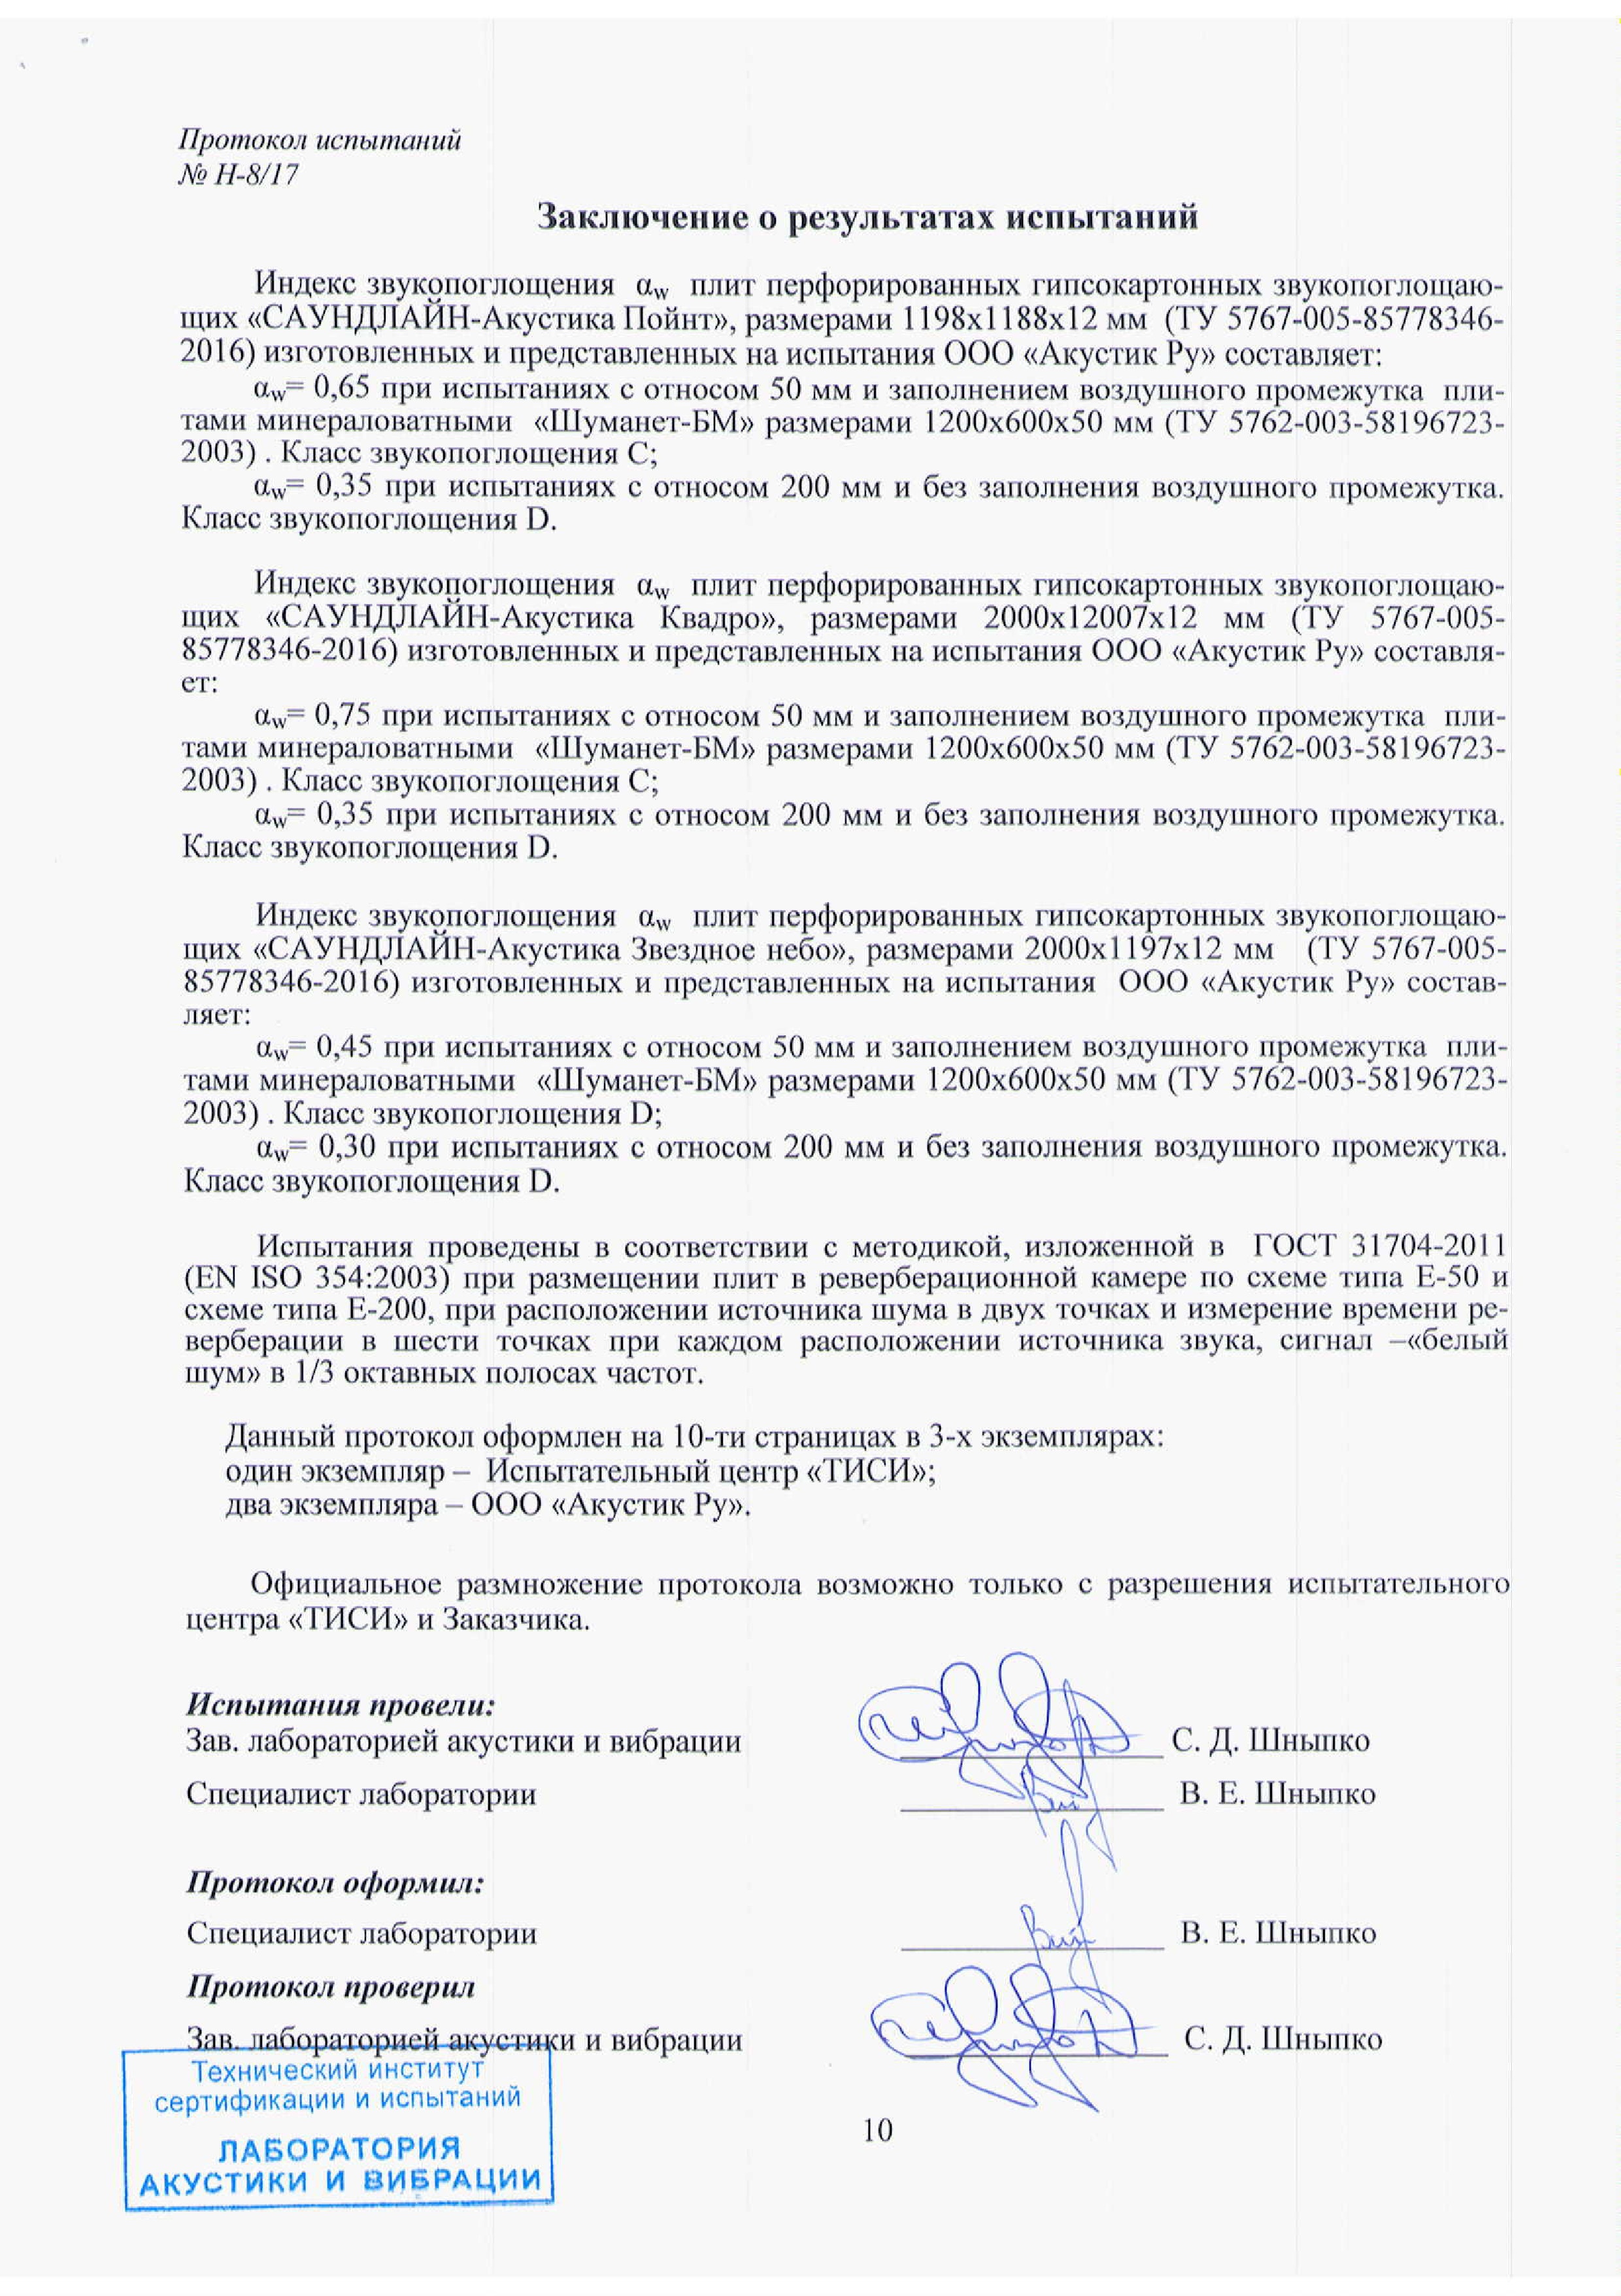
Acoustic characteristics
Quadro, solid square perforation 12/25 KV
Installation procedure
1. Joining the slabs
2. Checking the correctness of the pattern
3. Fastening the slabs to the profile frame with screws
4. Filling the screw holes and sealing the joints
5. Cleaning the joints, priming, and painting